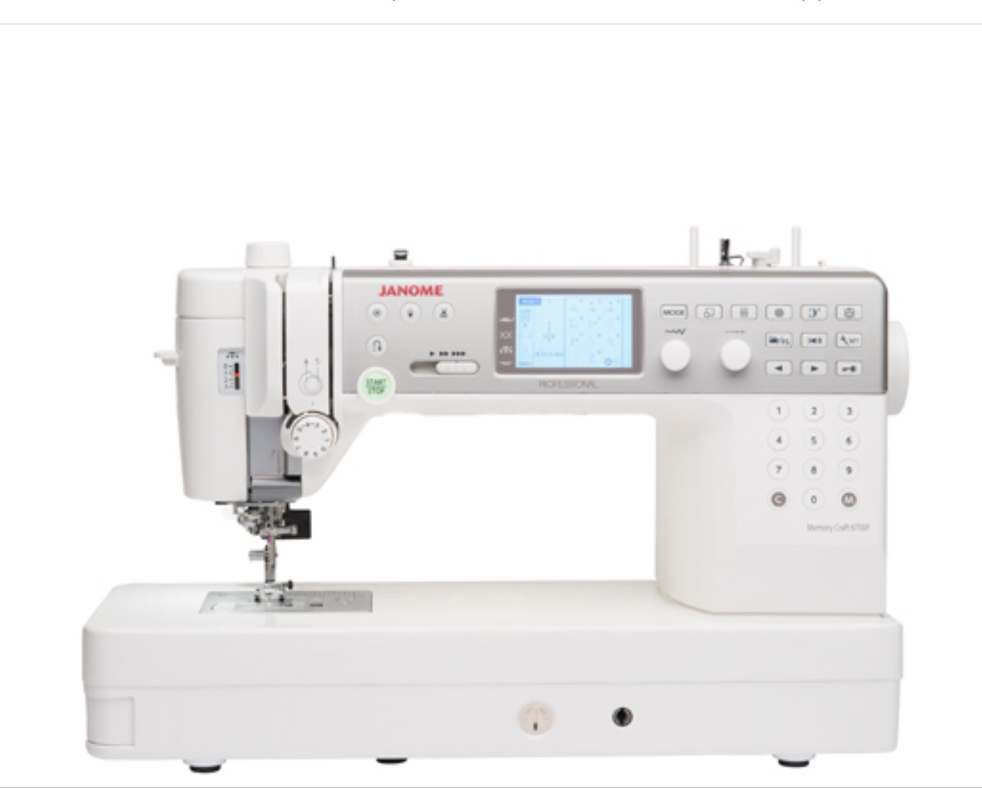
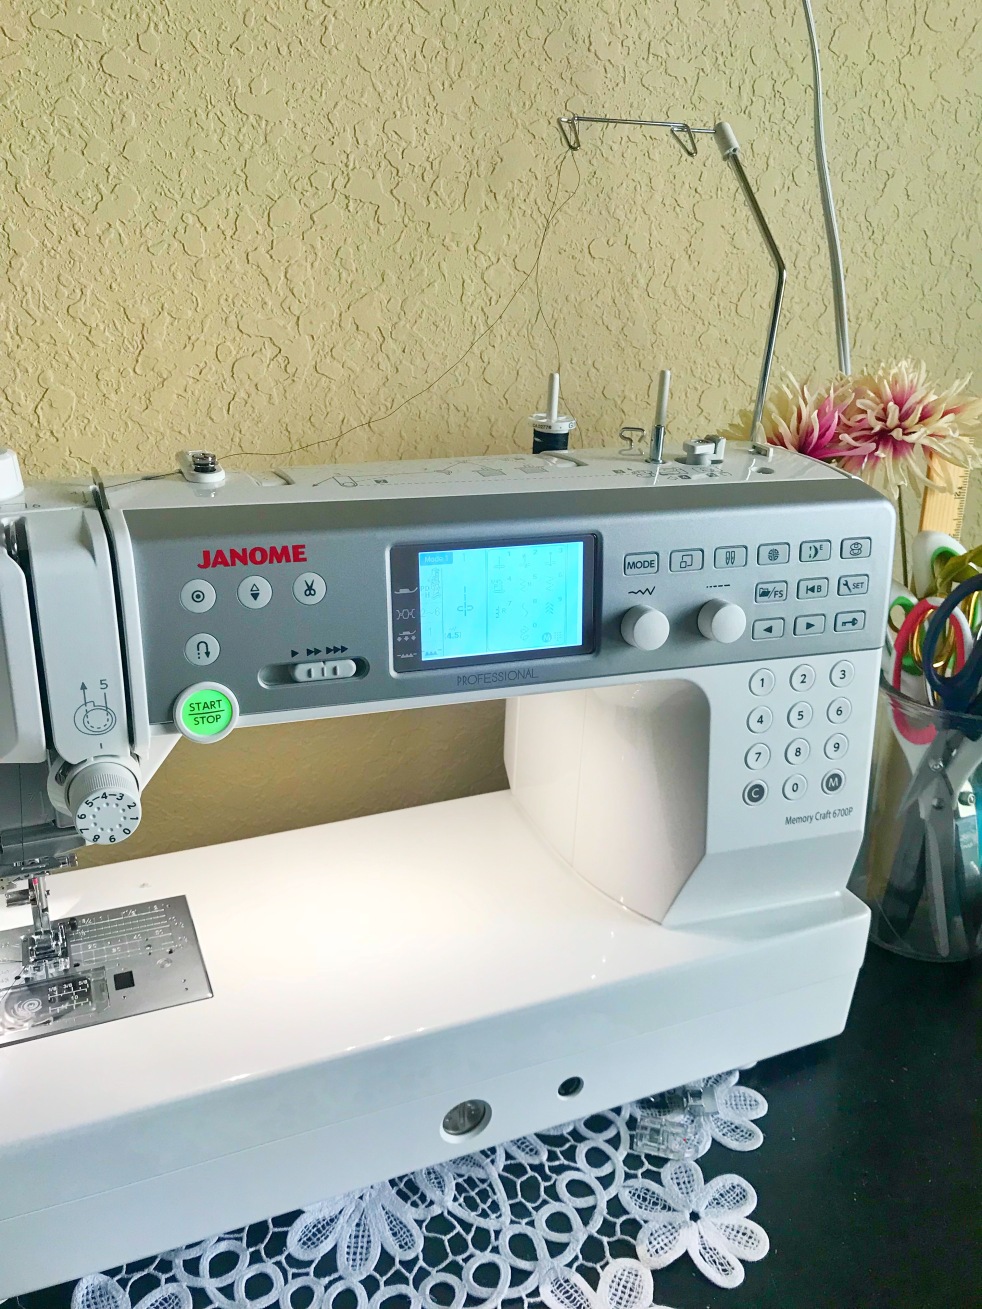
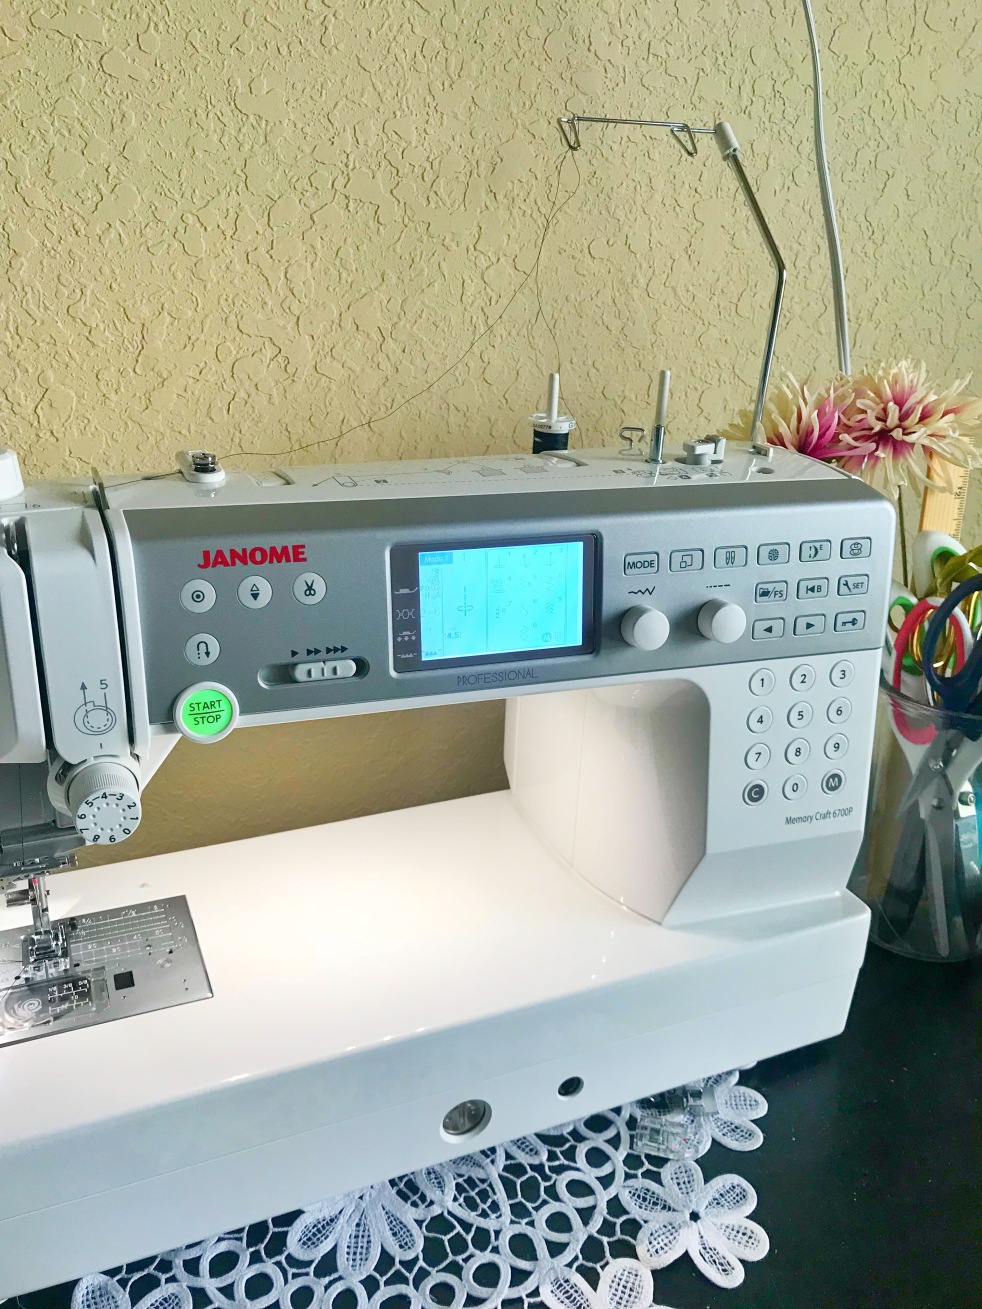
I recently had the amazing opportunity to team up with Janome America to review their brand new Janome Memory Craft 6700P.
I got to keep this beautiful baby for 2 weeks and I could not have been happier to collaborate with Janome. Those who follow me on Instagram know that I am Janome loyal and could not say enough about how much I love their machines and products. I currently own a Janome DC 1050 after upgrading from the Janome 5812. My DC 1050 is my baby and I love it immensely! People often ask me why I like Janome so much and I always tell them about the quietness of their machines as well as their reliability and strong durability. I have always been the type of person who when I find a brand that I love, becomes loyal and wants to tell the world about it. That is how I feel about the Janome brand. As soon as I received the Janome Memory Craft 6700P I was instantly impressed by the look of the machine. It is sleek and professional and I could not wait to play with it and discover all the yummy things that it could do!
I recently purchased a serger to finish my woven seams and to really dive into sewing up knit garments without having to worry about zig zagging on my sewing machine. Since have been mostly playing with knits since getting my serger, I really wanted to work with a woven project on the Janome Memory Craft 6700P. I decided to make another By Hand London dress hack that I have gotten quite a bit of questions about when I made my last one here. I will highlight in this post how I modified this pattern to make a dress while showing how the Janome Memory Craft 6700P helped me do so.
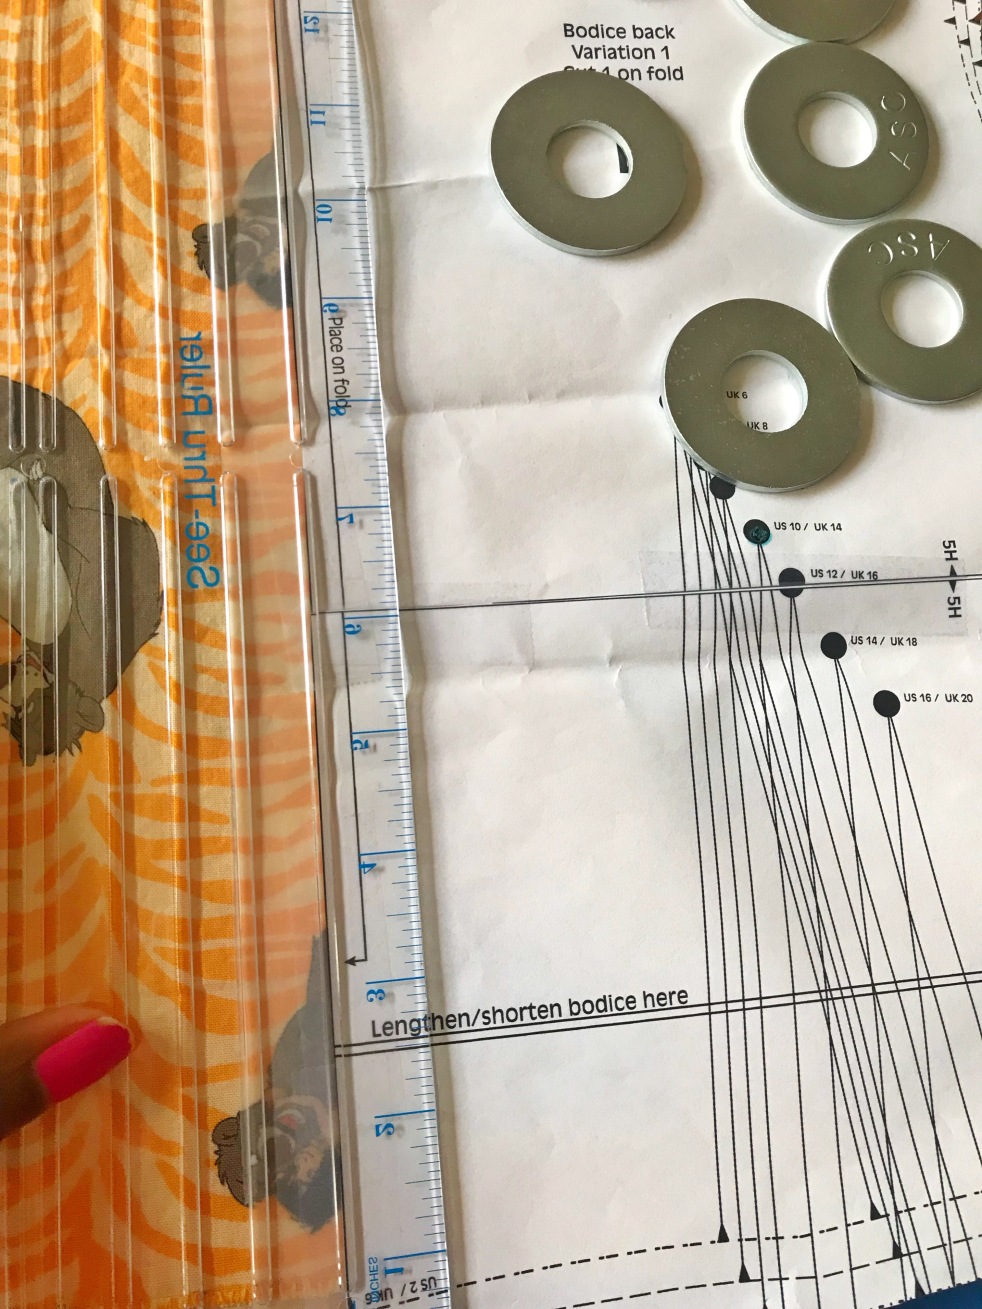
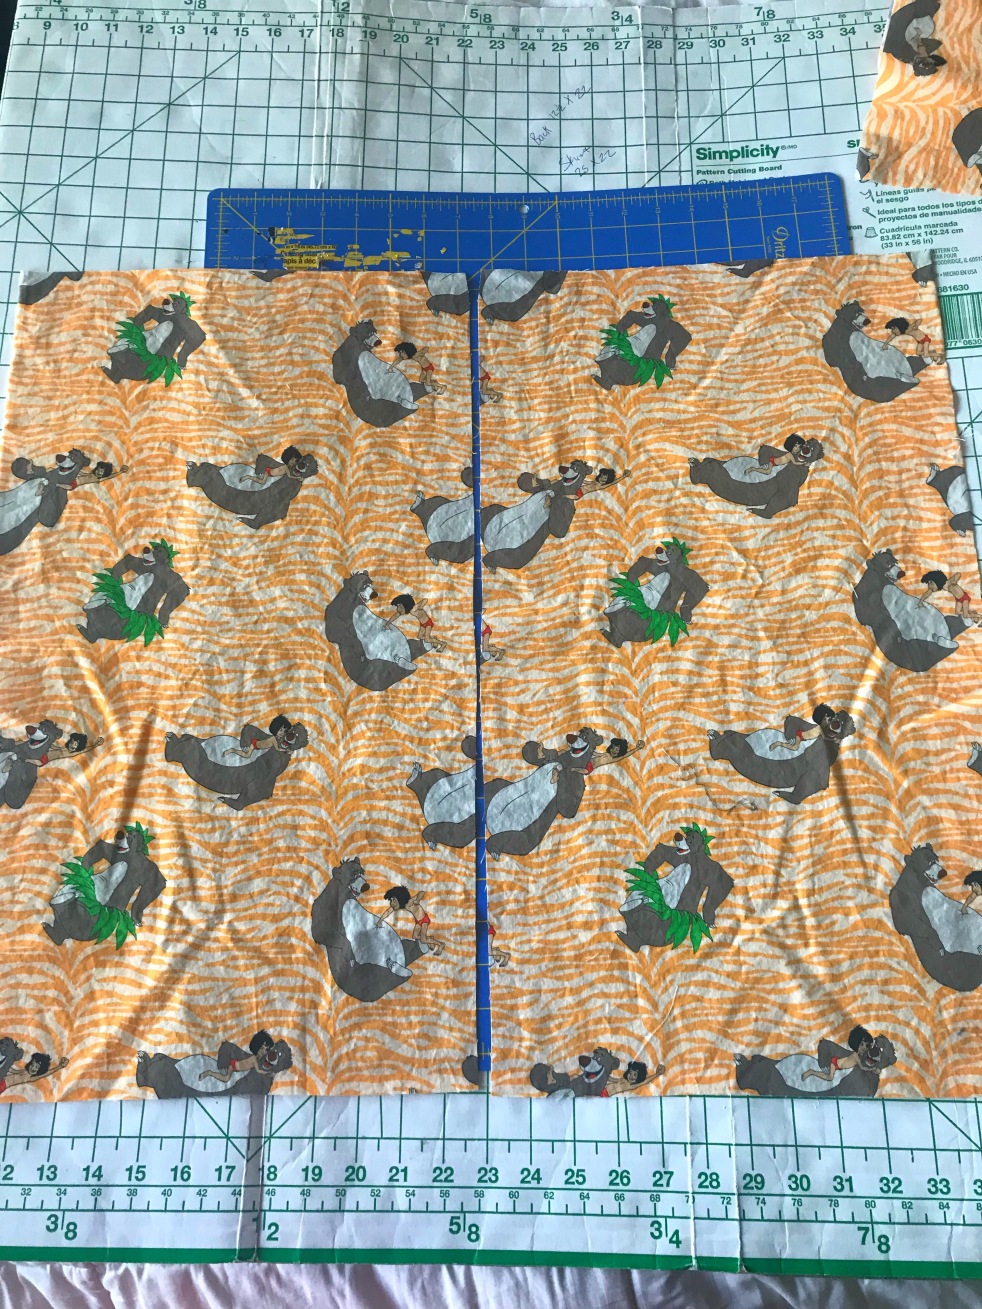
This dress is not difficult at all to make but it does require a button placket and the insertion of an invisible zipper in the back seam. The Holly Jumpsuit pattern is obviously not a dress and has a side zipper so you will need to modify the pattern by cutting a back seam allowance of 5/8ths of and inch so that the pattern still fits and goes together smoothly.
If you prefer to have a side seam on the dress you can do that instead, however I prefer a back zipper.
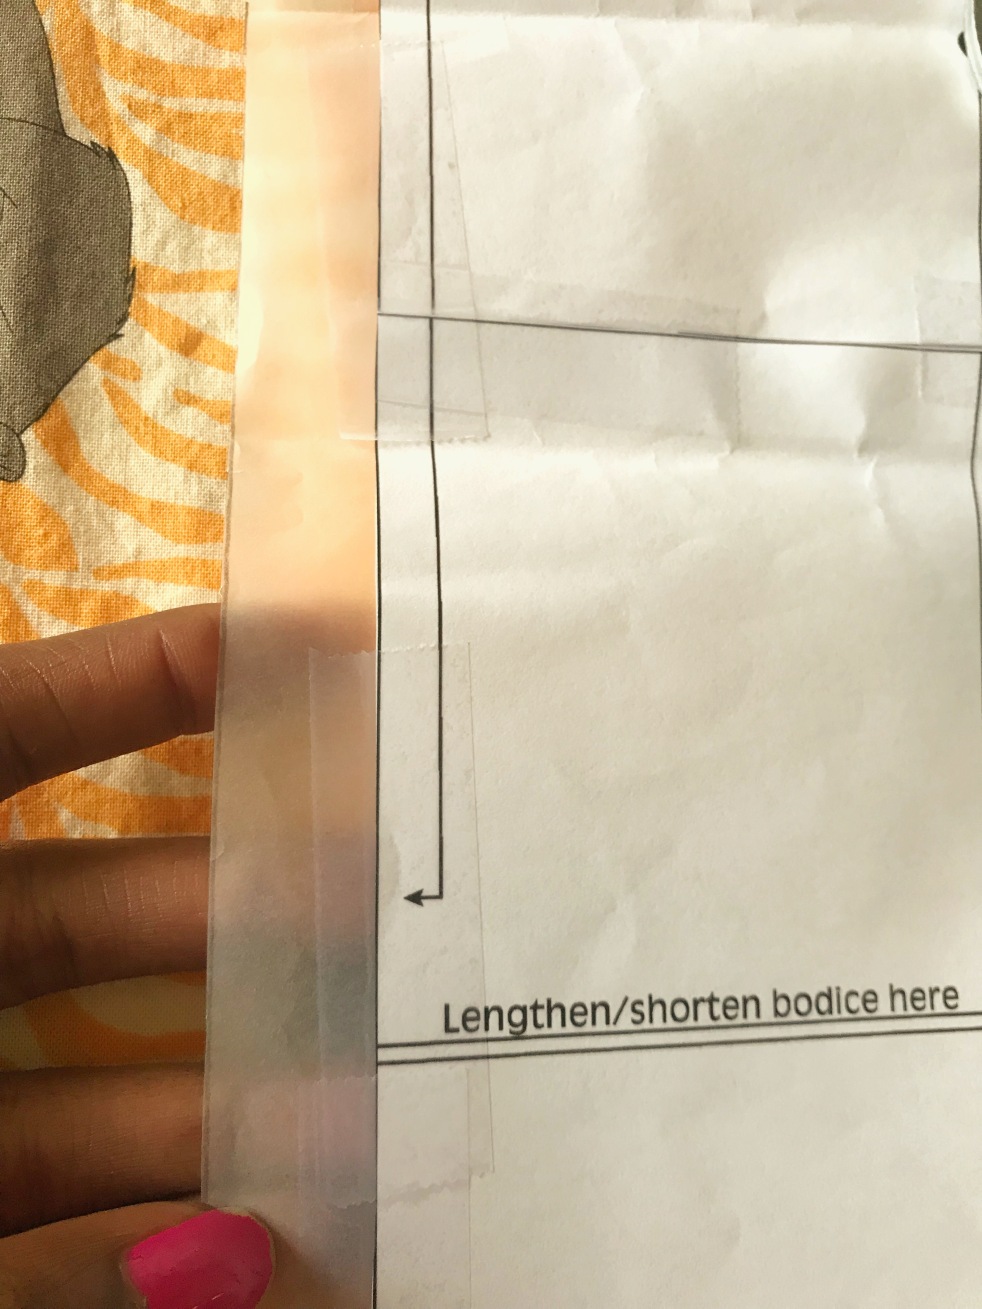
The addition of the seam allowance can be done by using a clear dressmaker’s ruler like the one you see above or any type of ruler that you feel comfortable using.
I added a strip of tracing paper to my pattern to make it easier while cutting but you can simply measure out the seam allowance and then cut if you prefer. After you integrate the seam allowance into the back seam, you can then sew up the bodice by following the detailed and clear instructions included with the Holly pattern.
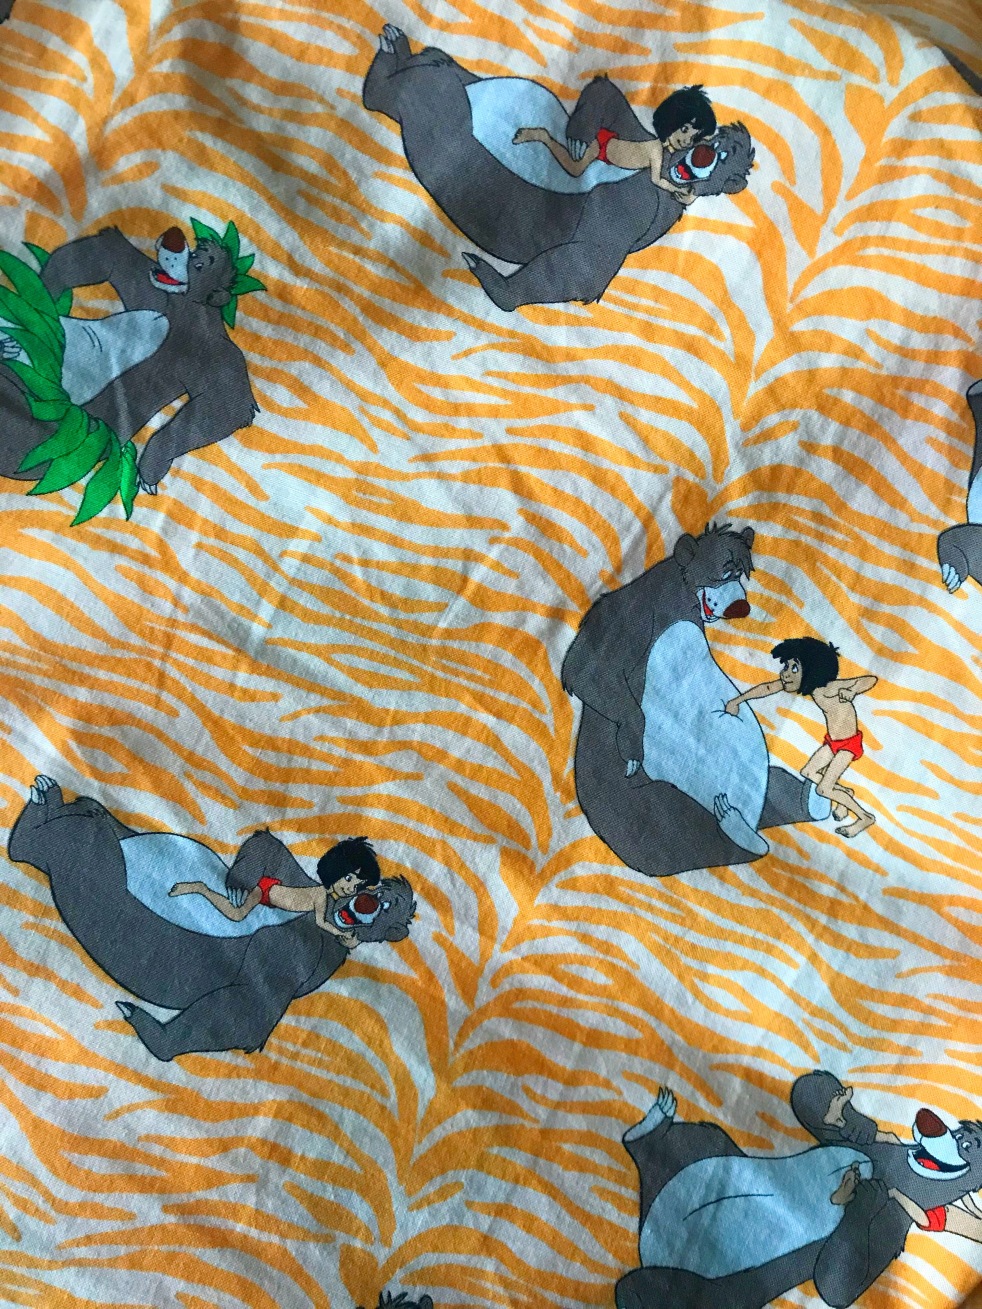
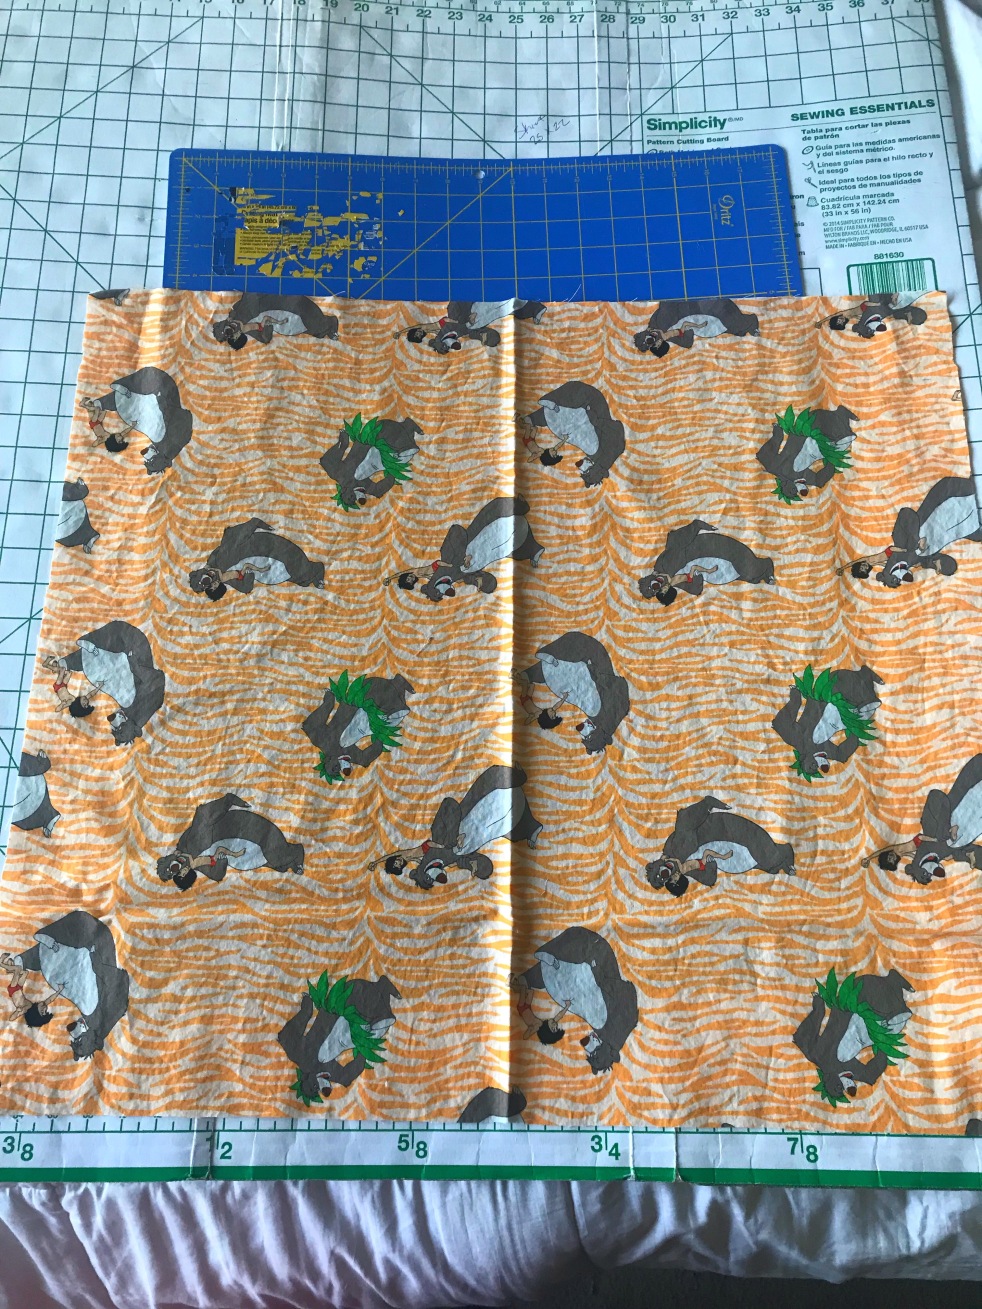
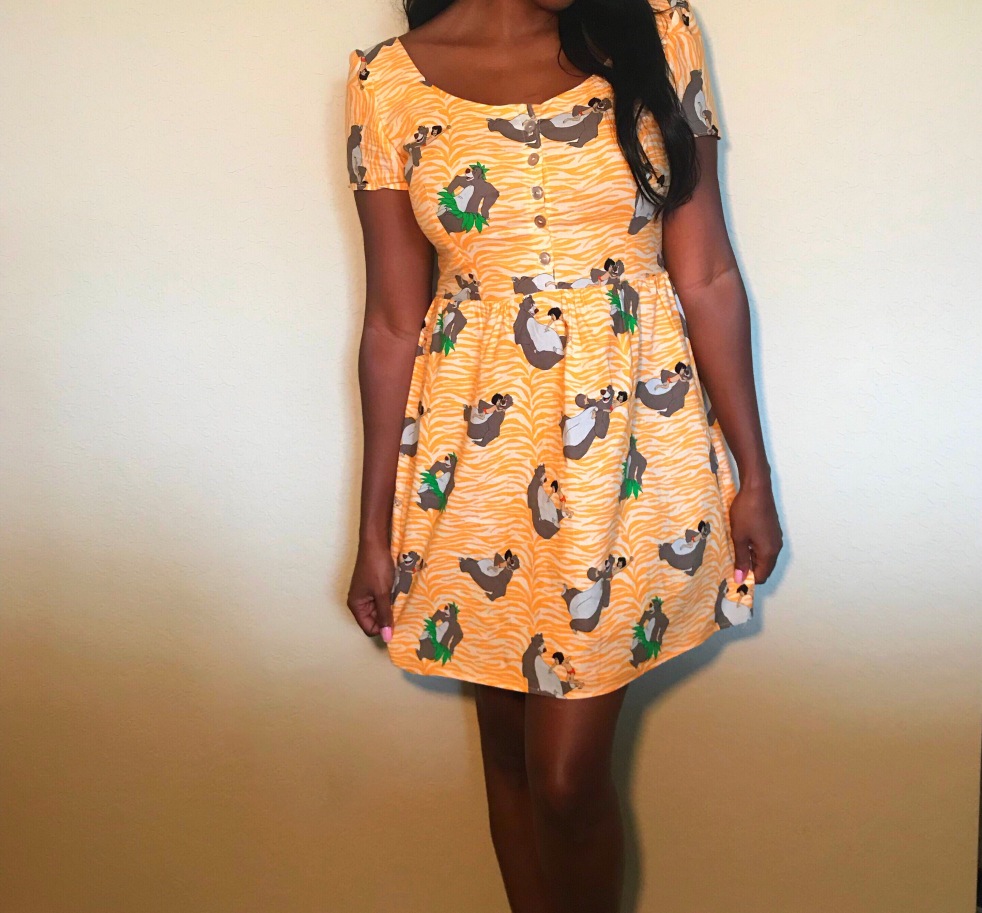
For those of you who don’t know, I live in Orlando, love Disney and am in the parks weekly. I’ve had this Jungle Book Fabric for a while now that I bought from a local shop and I love the playful print of Mogli and Baloo.
I could not find this fabric online to link so I am sorry if you like it and would like to purchase it. I would suggest maybe searching your local fabric shop and looking through the Disney character aisle and you might stumble across it. I immediately pictured making a casual dress that I could show off in The Magic Kingdom or Animal Kingdom so I decided to use this for my Holly hack and I am so glad that I did.
Going back to the Janome Memory Craft 6700P This machine has a multitude of amazing features which I unfortunately did not have enough the time with the machine to explore completely. This machine is sturdy and professional and a lot larger than my DC 1050.
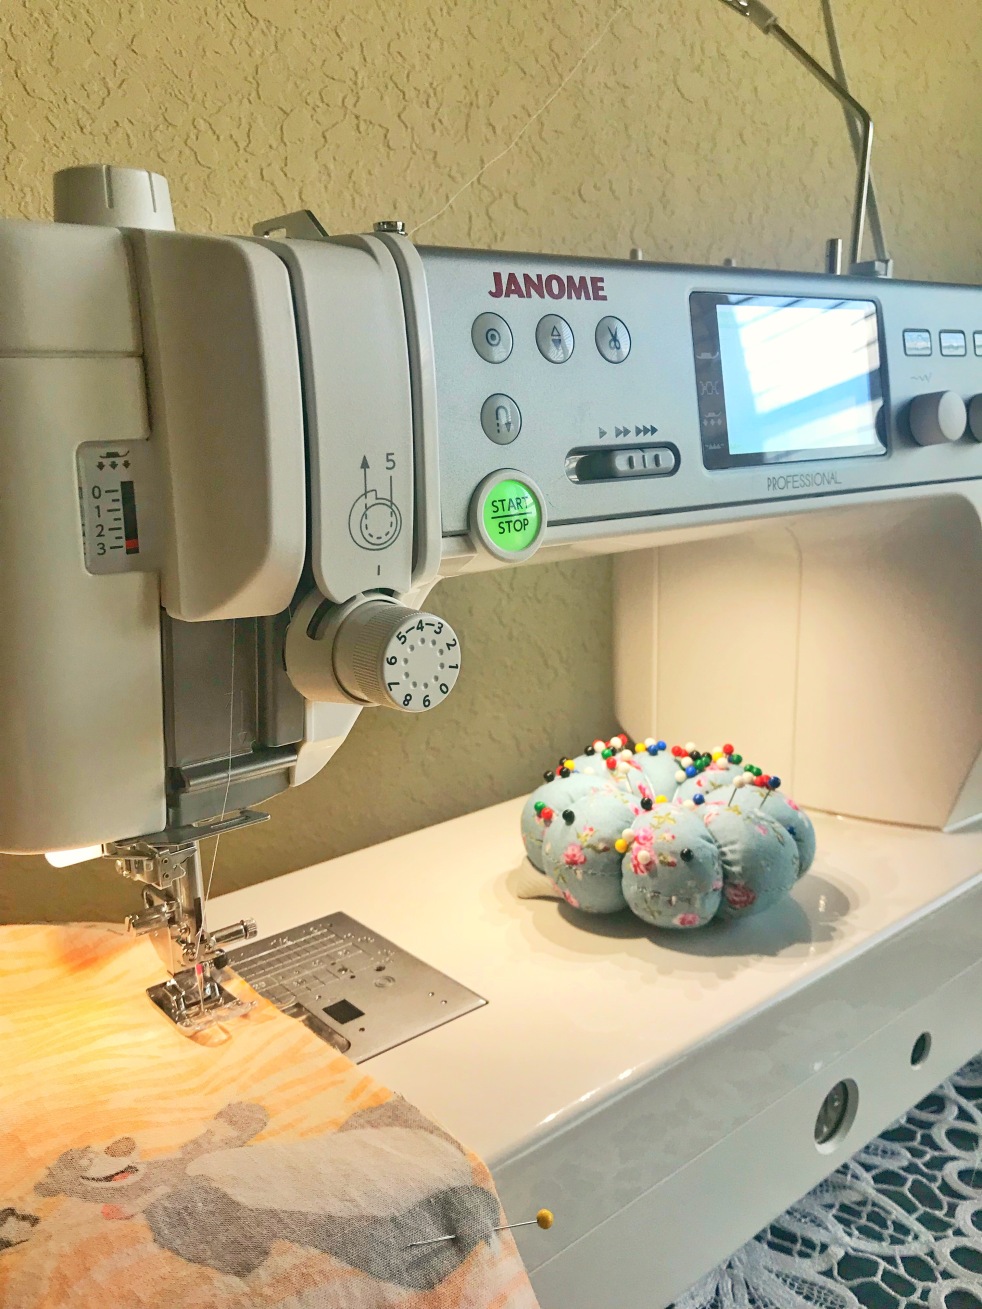
I loved the extra space that it allowed me during the sewing of my dress and was even able to sit my pin cushion on it as I was sewing! I also love the thread cutter and I purposely didn’t use this feature too much in fear that I would get used to it and be disappointed from not having it on my current model! LOL
The smoothness of this machine is amazing and immediately got the feeling that no matter what the challenge, this machine could face and conquer anything and everything. Eventhough I was only sewing a simple woven dress, I could see how sewing a pair of denim jeans or working with a fabric like leather would fair very well with the strength and mechanics of this machine. This machine is a great choice for those that are looking to upgrade to a highly professional and quality machine that would no doubt up your sewing game to the next level. This is the type of machine that I hope to have in the next 5 years or so and found so much pleasure working with it in two week’s time.
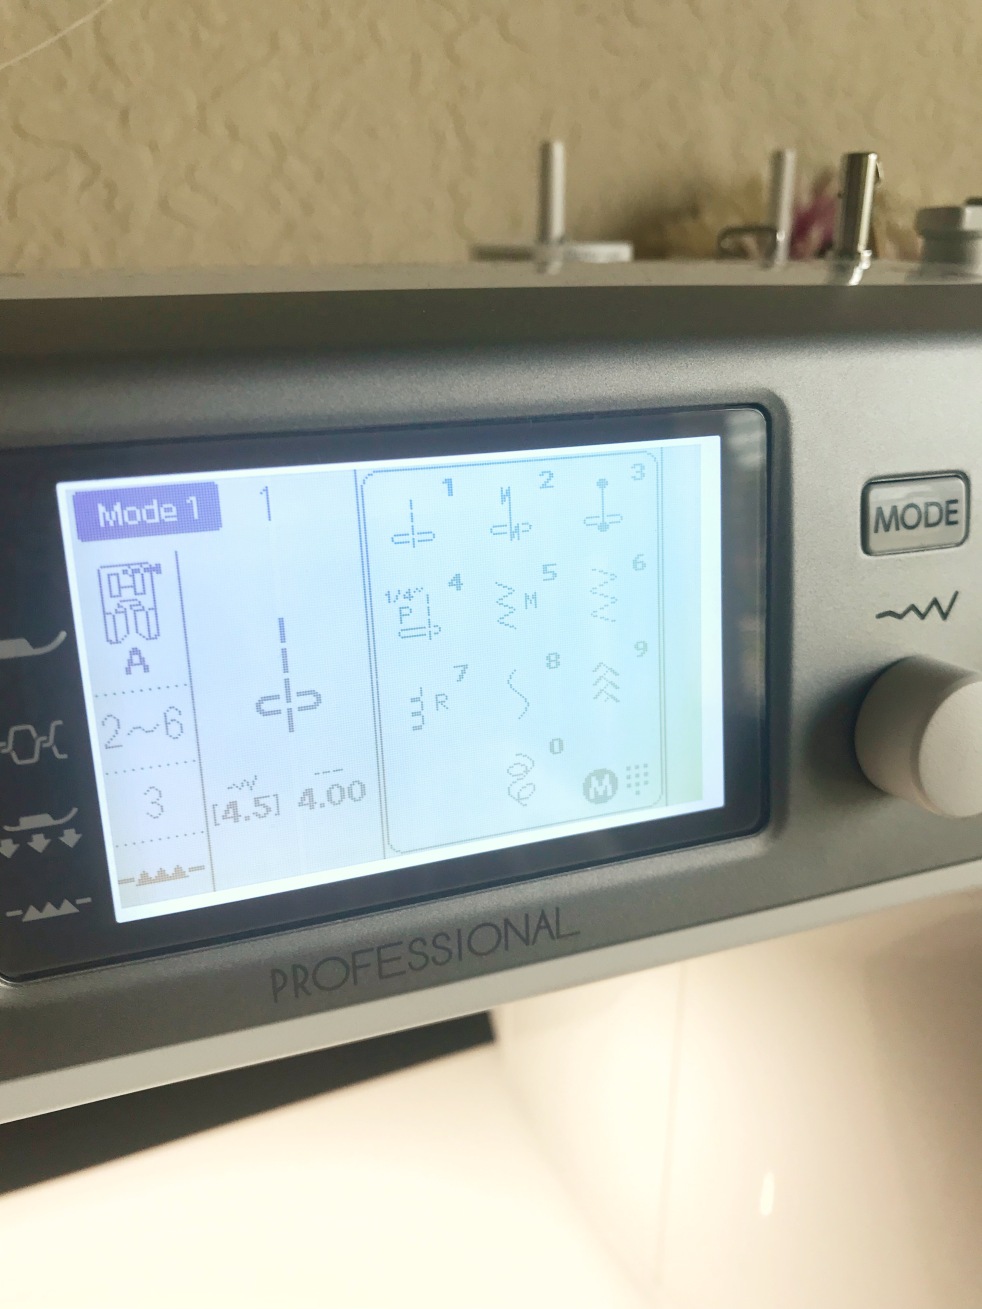
Eventhough this is a professional grade machine, the functions that I used were relatively easy to maneuver and handle and the digital display makes for a simple task of adjusting everything from stitch length, stich type and needle positions.
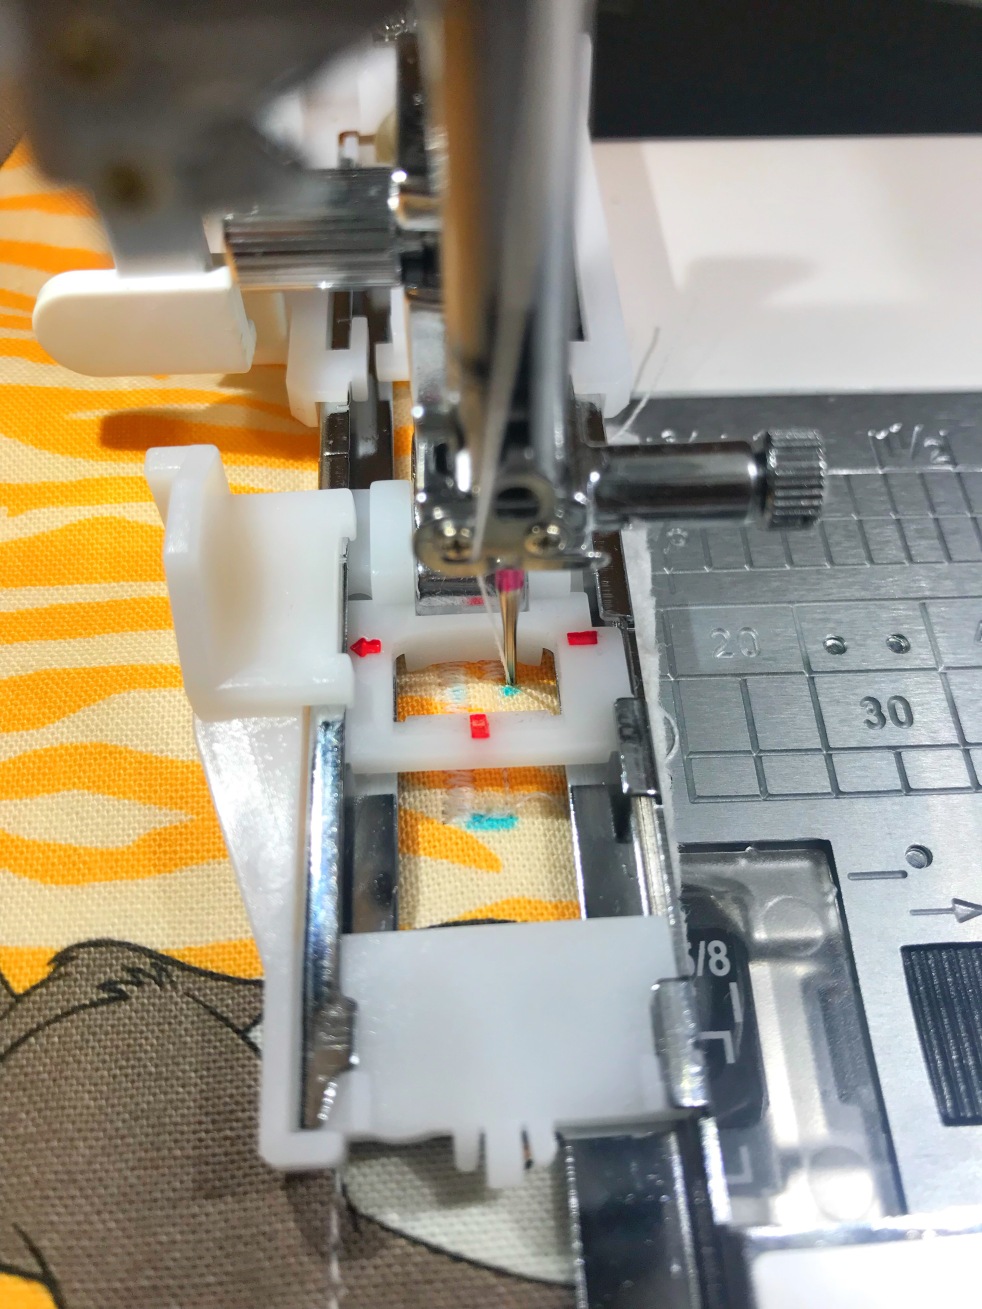
The 1 step button hole function did an amazing job and was very easy to use.
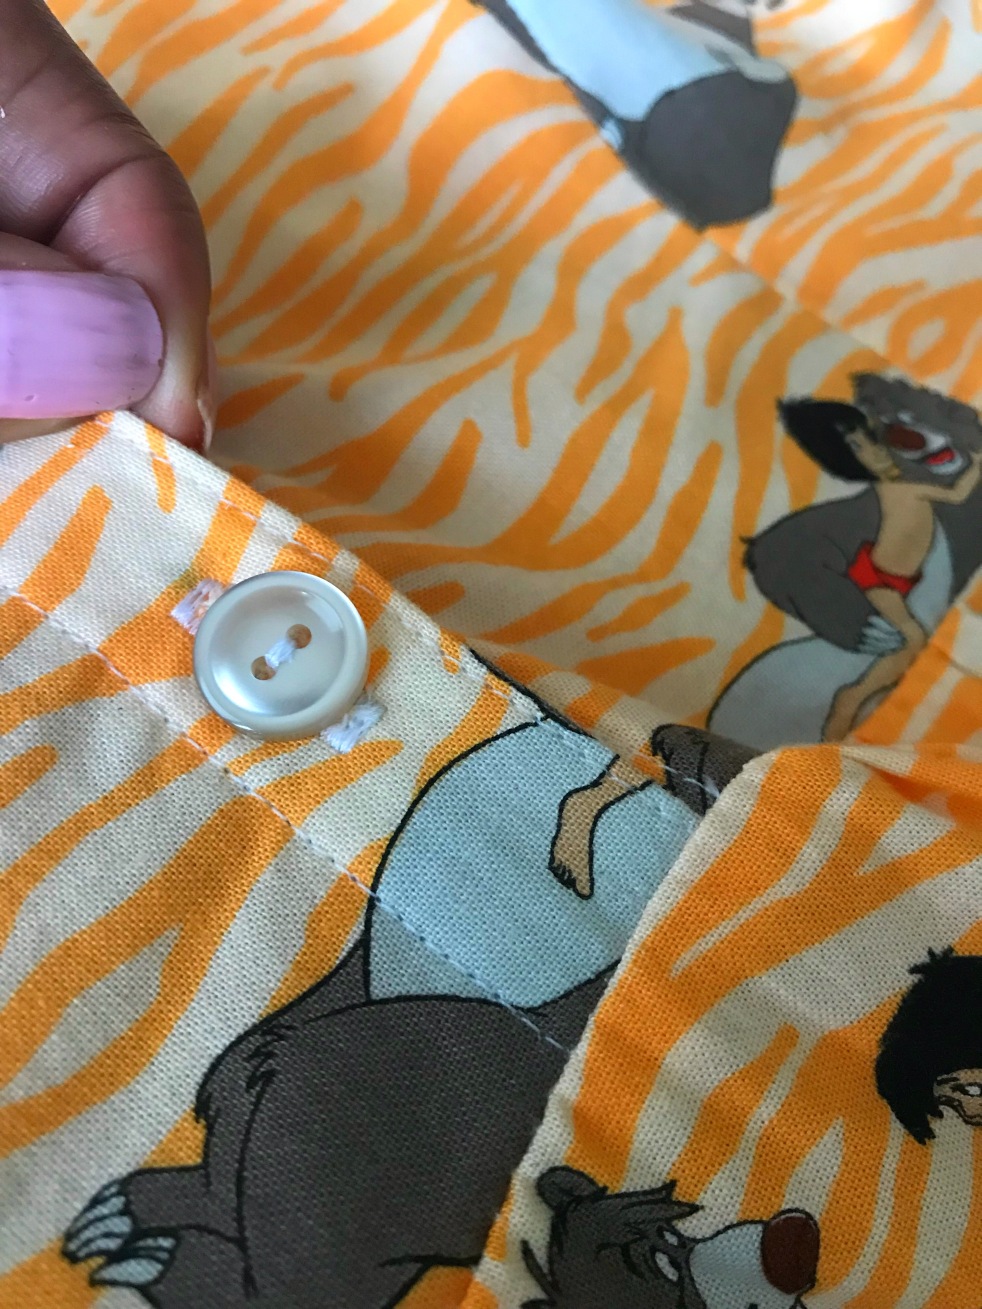
The button placket that I created in this dress was made by folding the edge of the openings of each bodice front and stitching down on either side. The pattern does not call for interfacing however I did interface the button placket with a strip of quilting cotton to give it a bit more stability. The smooth steadiness of this machine made the topstitching a breeze and allowed me to create a neat placket for my button holes.
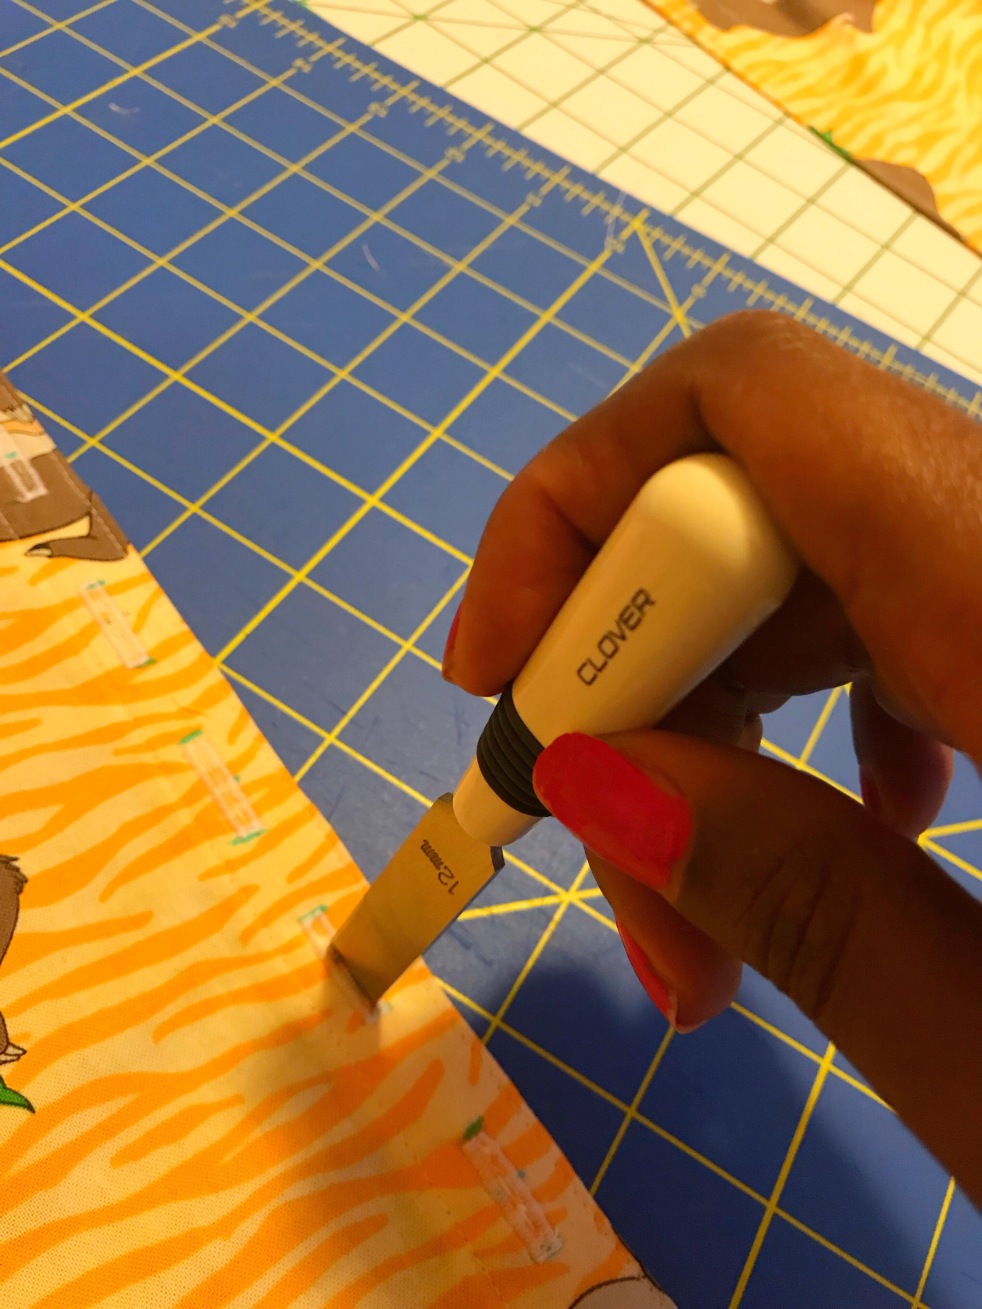
After cutting my holes with a button hole cutter, and wiping away my pen marks, I was pleased with the results.
The skirt of this dress is simply created by cutting out two rectangles measuring 12.5″ X 22″. You will need to cut one on the fold (the front of the skirt) and the other not on the fold (the back, resulting in a back seam).
You should have three separate pieces after cutting out your skirt. The front and the two back pieces. I then sewed a gathering stitch across the top of the front of the skirt stopping about an inch from the raw edges on both sides. I did the same with each of the back pieces. I then sewed up the skirt by matching the front with both of the back pieces, sewing down each side using a 5/8 inch seam allowance. While sewing up your skirt, be careful to have your gathering stitches out of the way so that they do not get caught up in your side seam stitches.
I then gathered the skirt front and back pieces by pulling on the bobbin thread and conforming my gathers and my skirt to the size of my bodice waist while taking care to match up the side seams.
Sew your skirt to your bodice carefully, making sure that your gathers are not folding or getting caught in your stitches.
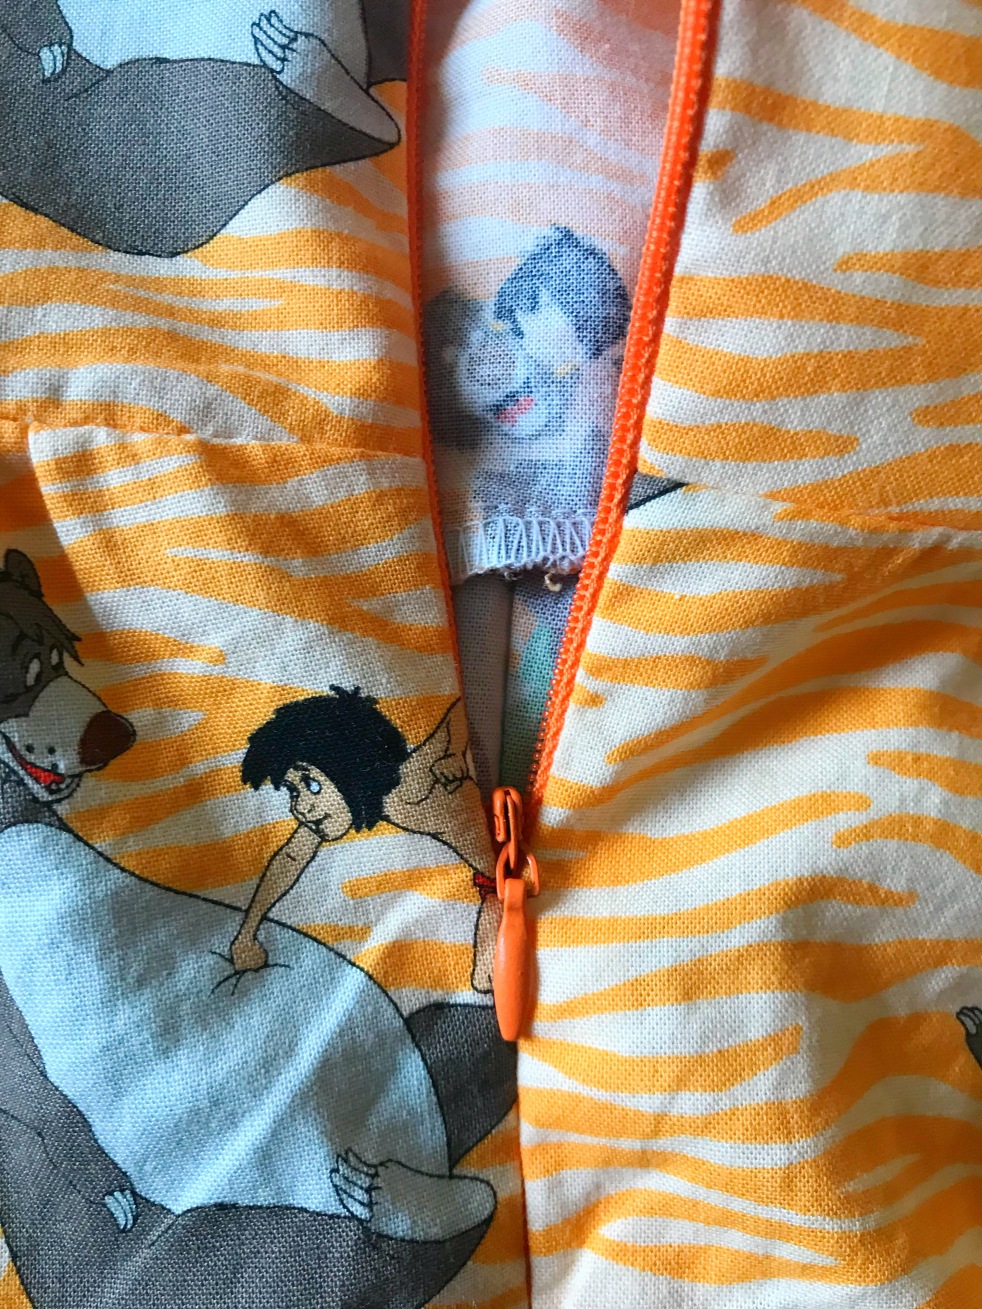
Your dress is almost done! All you have to do now is insert the invisible zip and hem!
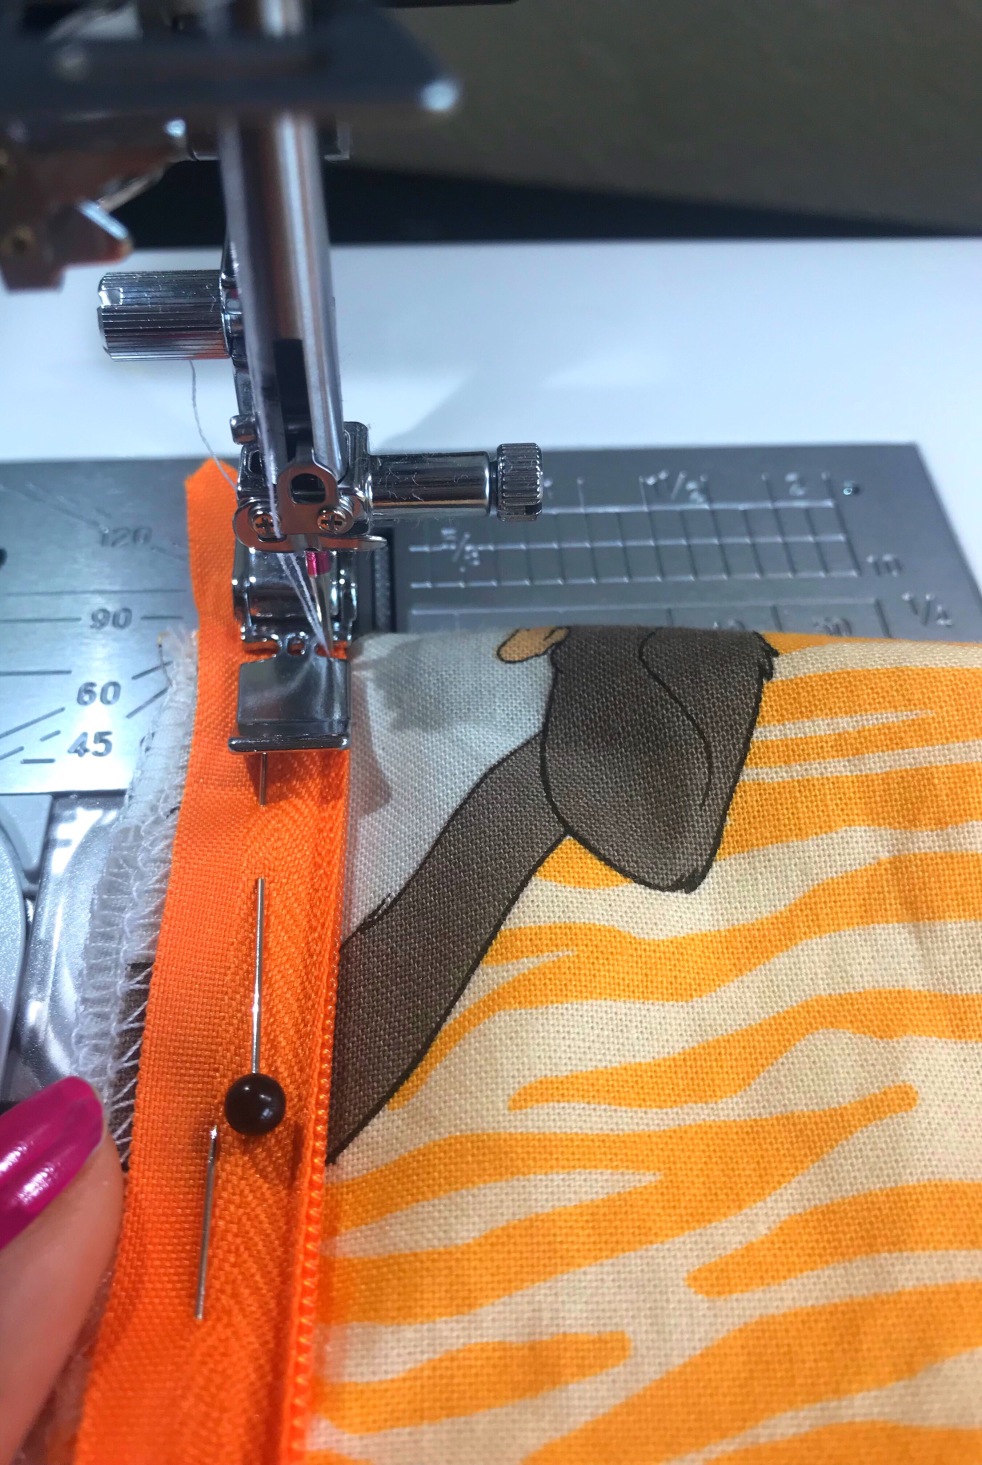
The Janome Memory Craft 6700P does not come with an invisible zipper foot and it uses a different foot type than my machine that I own. No worries on this because you can definitely insert an invisible zipper without an invisible zipper foot by making sure that you prepare your zipper before insertion by pressing the teeth open.
You then utilize the amazing function on your machine that allows you to move the position of the needle! I used the regular zipper foot that came with the machine and moved the needle as close to the teeth as possible without actually touching the teeth.
I would suggest going slow with this and taking your time which will ensure the best outcome of your zipper insertion.
I ended up shortening my skirt by about 2 inches before hemming but obviously this is up to you and however long or short you prefer your skirts.
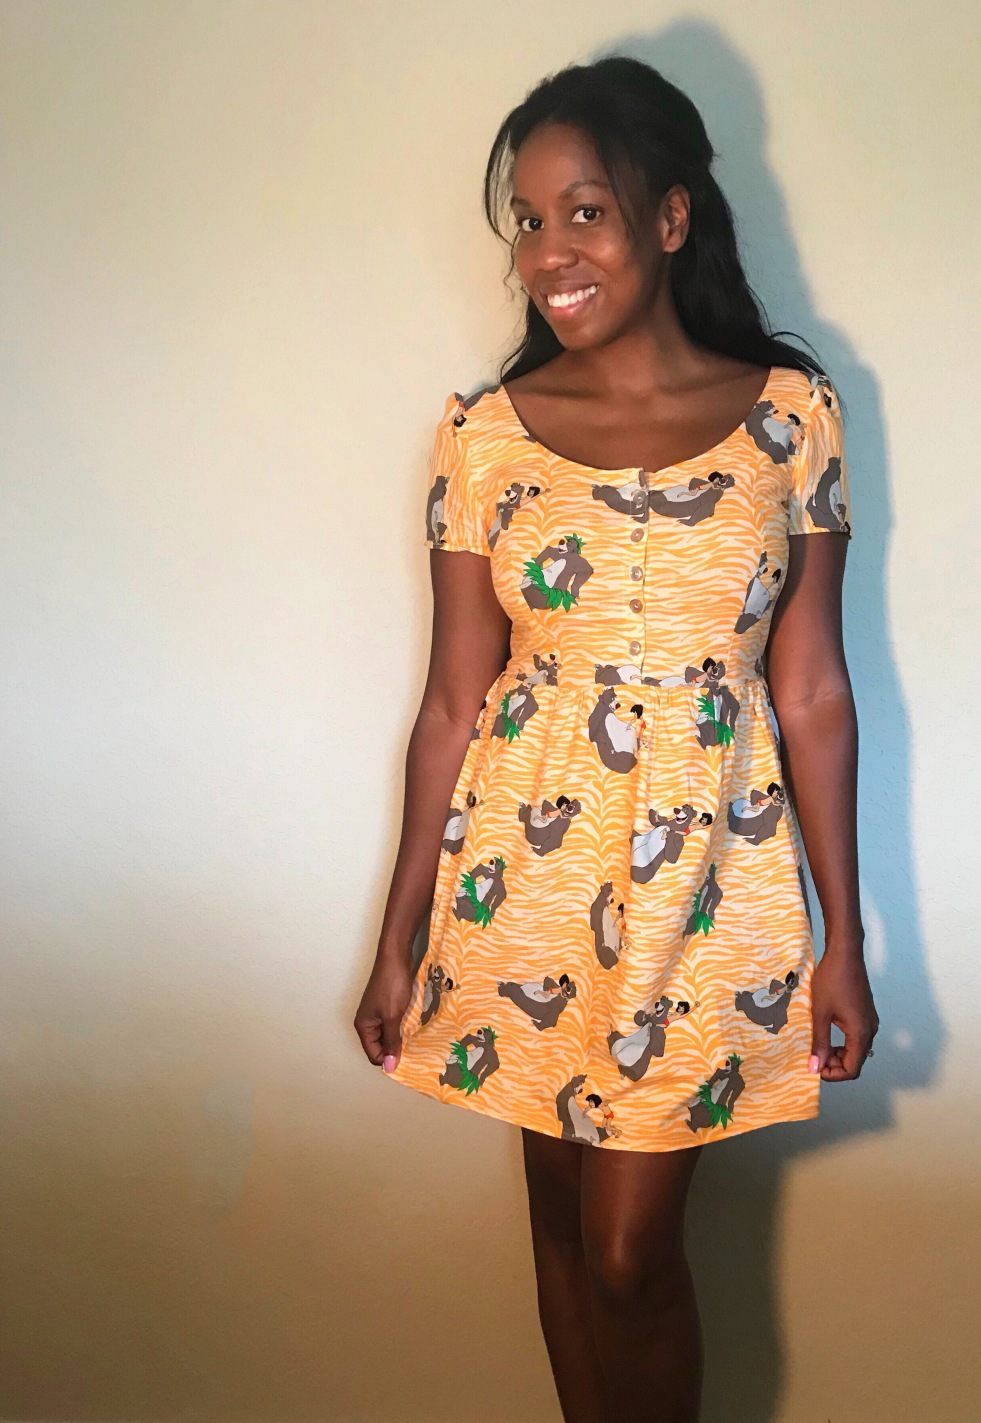
As you see above I wore the dress in Animal Kingdom last week and I love the playfulness and comfort of it!
Overall, I absolutely love the Janome Memory Craft 6700P and as I mentioned before it would make a great purchase for anyone who has a mid-level machine and would like to upgrade to a professional grade model.
Thank you so much to Janome for partnering with me in this blog and please leave me a comment or message me if you have any questions about making your own Holly dress hack.
Have a beautiful day everyone!
