dressmaking · sewing · Uncategorized

Janome Memory Craft 6700P Review and Jungle Book By Hand London Holly Hack! 

I recently had the amazing opportunity to team up with Janome America to review their brand new Janome Memory Craft 6700P.

 I got to keep this beautiful baby for 2 weeks and I could not have been happier to collaborate with Janome. Those who follow me on Instagram know that I am Janome loyal and could not say enough about how much I love their machines and products. I currently own a Janome DC 1050 after upgrading from the Janome 5812. My DC 1050 is my baby and I love it immensely! People often ask me why I like Janome so much and I always tell them about the quietness of their machines as well as their reliability and strong durability. I have always been the type of person who when I find a brand that I love, becomes loyal and wants to tell the world about it. That is how I feel about the Janome brand. As soon as I received the Janome Memory Craft 6700P I was instantly impressed by the look of the machine. It is sleek and professional and I could not wait to play with it and discover all the yummy things that it could do!

I recently purchased a serger to finish my woven seams and to really dive into sewing up knit garments without having to worry about zig zagging on my sewing machine. Since have been mostly playing with knits since getting my serger, I really wanted to work with a woven project on the Janome Memory Craft 6700P. I decided to make another By Hand London dress hack that I have gotten quite a bit of questions about when I made my last one here. I will highlight in this post how I modified this pattern to make a dress while showing how the Janome Memory Craft 6700P helped me do so.

This dress is not difficult at all to make but it does require a button placket and the insertion of an invisible zipper in the back seam. The Holly Jumpsuit pattern is obviously not a dress and has a side zipper so you will need to modify the pattern by cutting a back seam allowance of 5/8ths of and inch so that the pattern still fits and goes together smoothly. 

If you prefer to have a side seam on the dress you can do that instead, however I prefer a back zipper.

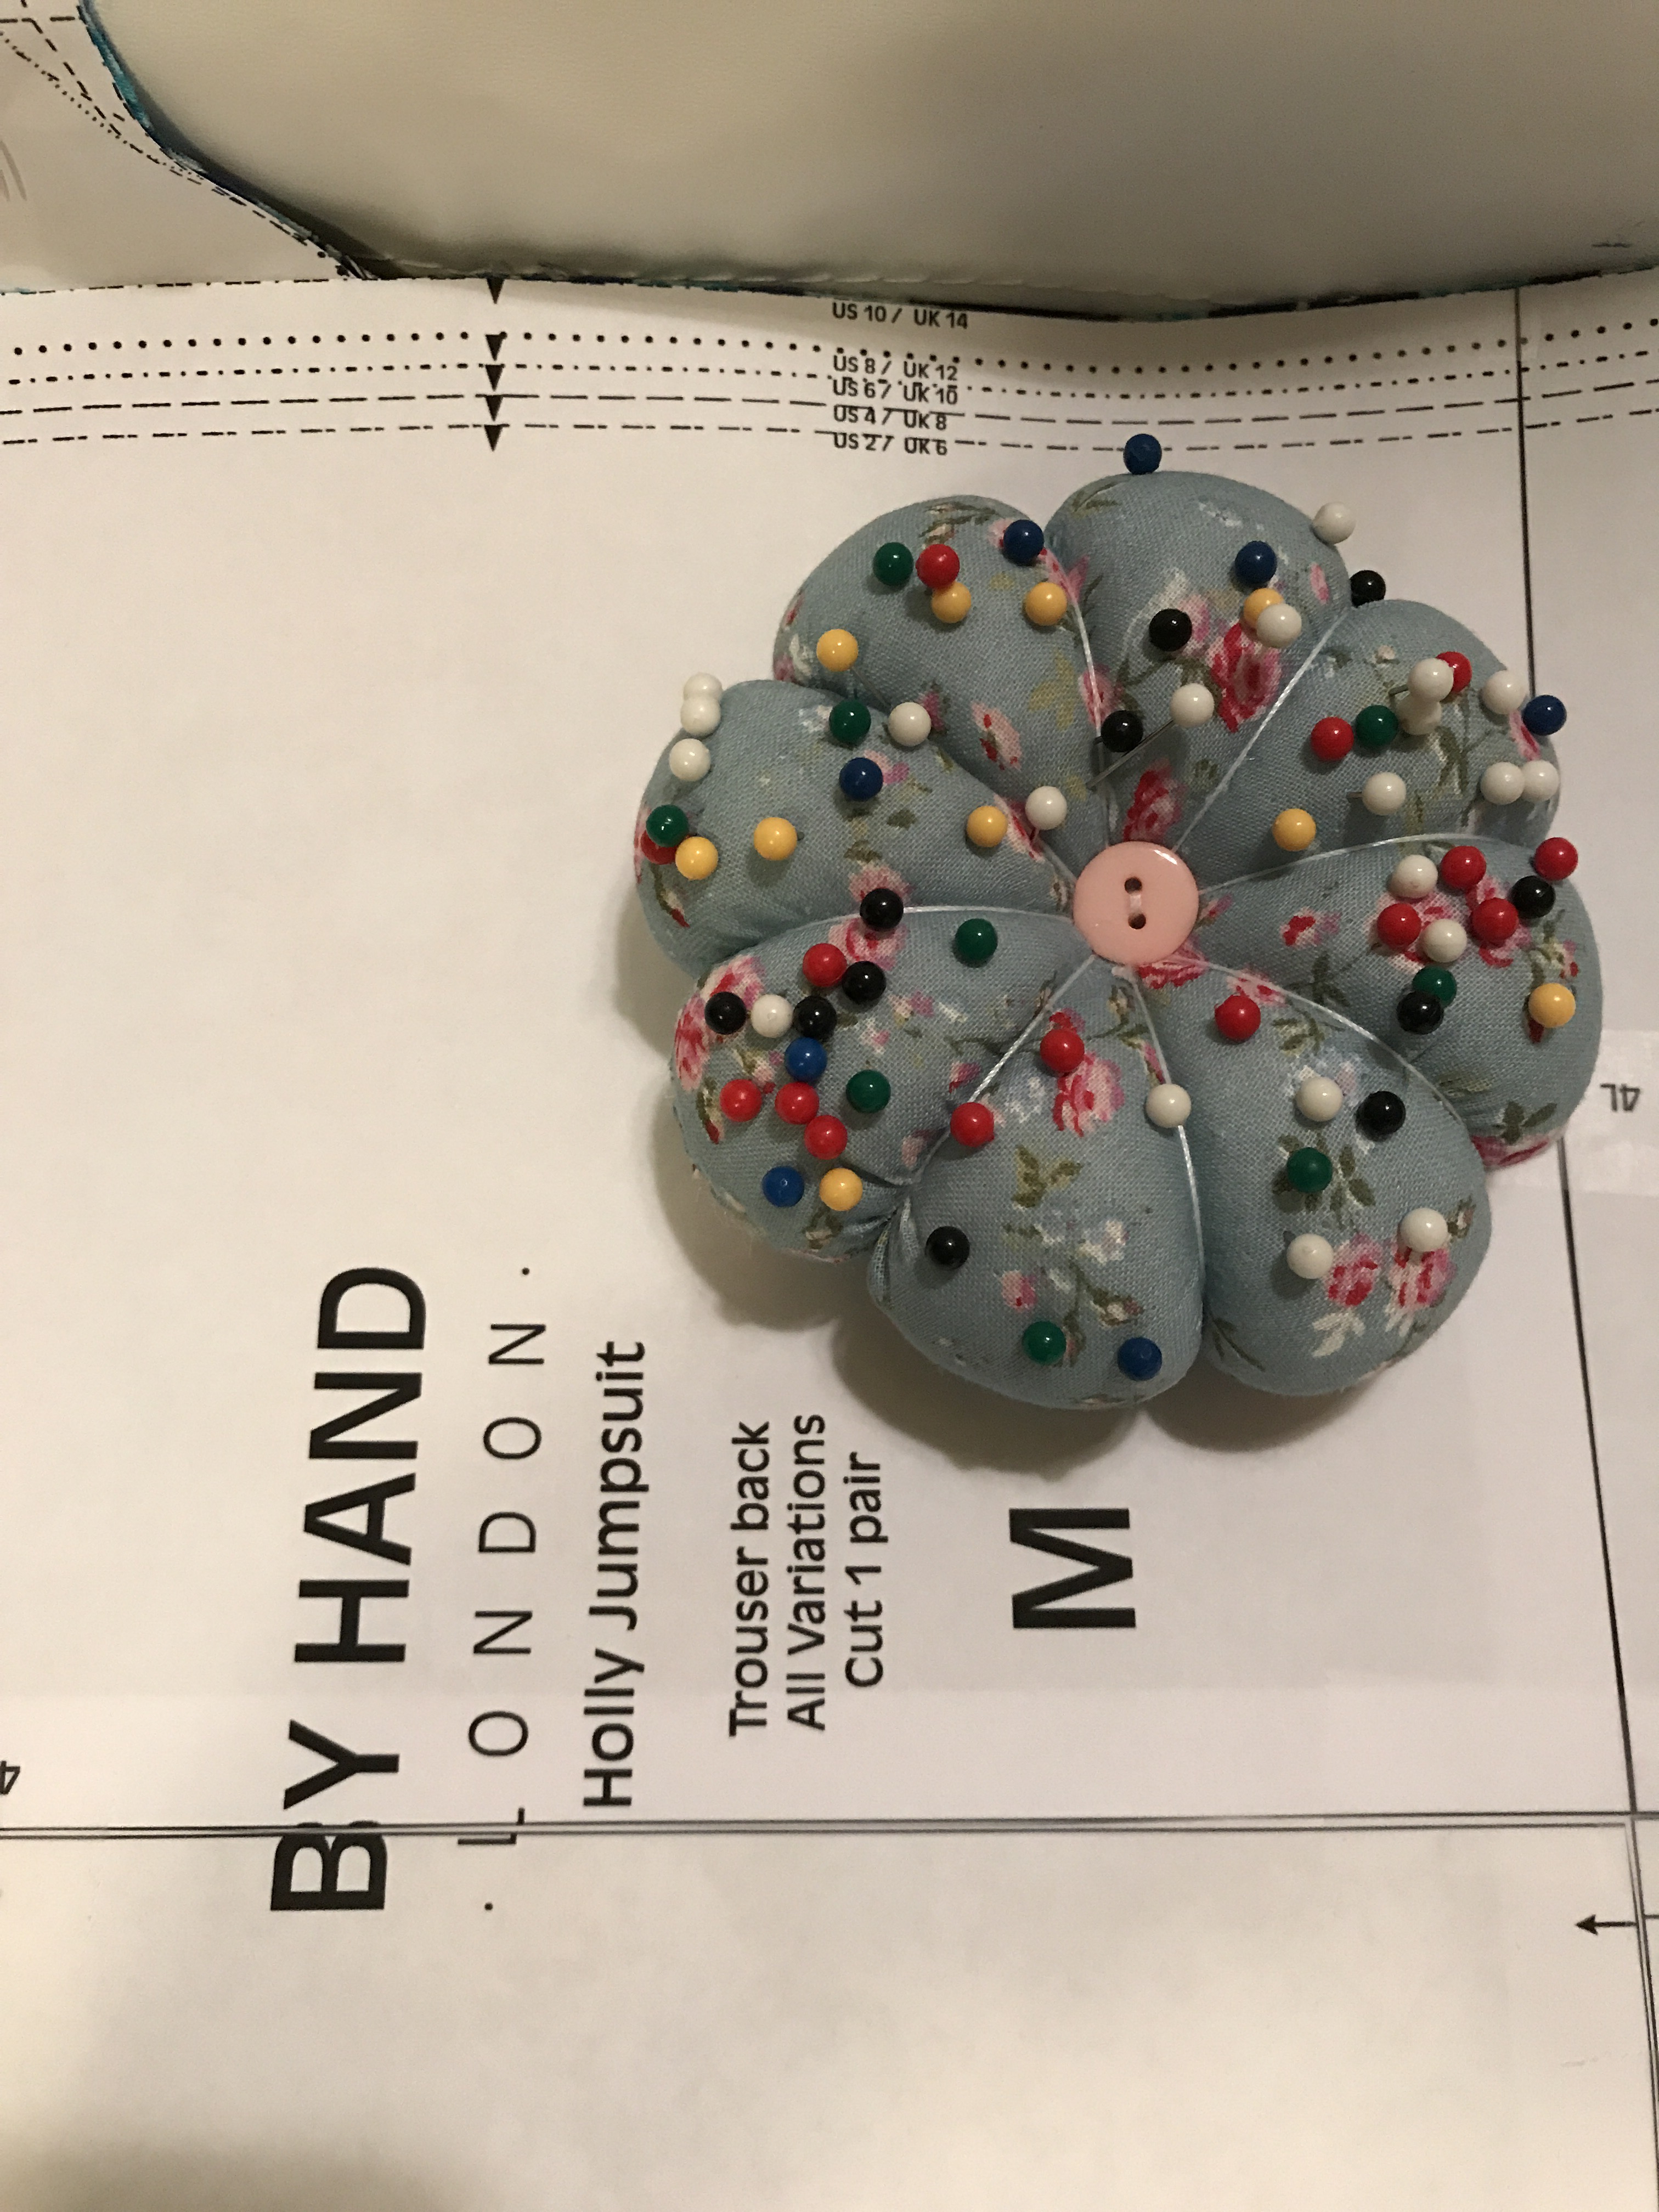
The addition of the seam allowance can be done by using a clear dressmaker’s ruler like the one you see above or any type of ruler that you feel comfortable using. 

I added a strip of tracing paper to my pattern to make it easier while cutting but you can simply measure out the seam allowance and then cut if you prefer. After you integrate the seam allowance into the back seam, you can then sew up the bodice by following the detailed and clear instructions included with the Holly pattern.

For those of you who don’t know, I live in Orlando, love Disney and am in the parks weekly. I’ve had this Jungle Book Fabric for a while now that I bought from a local shop and I love the playful print of Mogli and Baloo.  

I could not find this fabric online to link so I am sorry if you like it and would like to purchase it. I would suggest maybe searching your local fabric shop and looking through the Disney character aisle and you might stumble across it. I immediately pictured making a casual dress that I could show off in The Magic Kingdom or Animal Kingdom so I decided to use this for my Holly hack and I am so glad that I did.

Going back to the Janome Memory Craft 6700P This machine has a multitude of amazing features which I unfortunately did not have enough the time with the machine to explore completely. This machine is sturdy and professional and a lot larger than my DC 1050. 

I loved the extra space that it allowed me during the sewing of my dress and was even able to sit my pin cushion on it as I was sewing! I also love the thread cutter and I purposely didn’t use this feature too much in fear that I would get used to it and be disappointed from not having it on my current model! LOL

The smoothness of this machine is amazing and immediately got the feeling that no matter what the challenge, this machine could face and conquer anything and everything. Eventhough I was only sewing a simple woven dress, I could see how sewing a pair of denim jeans or working with a fabric like leather would fair very well with the strength and mechanics of this machine. This machine is a great choice for those that are looking to upgrade to a highly professional and quality machine that would no doubt up your sewing game to the next level. This is the type of machine that I hope to have in the next 5 years or so and found so much pleasure working with it in two week’s time. 

Eventhough this is a professional grade machine, the functions that I used were relatively easy to maneuver and handle and the digital display makes for a simple task of adjusting everything from stitch length, stich type and needle positions.   

The 1 step button hole function did an amazing job and was very easy to use. 

The button placket that I created in this dress was made by folding the edge of the openings of each bodice front and stitching down on either side. The pattern does not call for interfacing however I did interface the button placket with a strip of quilting cotton to give it a bit more stability. The smooth steadiness of this machine made the topstitching a breeze and allowed me to create a neat placket for my button holes.

After cutting my holes with a button hole cutter, and wiping away my pen marks, I was pleased with the results.

The skirt of this dress is simply created by cutting out two rectangles measuring 12.5″ X 22″. You will need to cut one on the fold (the front of the skirt) and the other not on the fold (the back, resulting in a back seam).

You should have three separate pieces after cutting out your skirt. The front and the two back pieces. I then sewed a gathering stitch across the top of the front of the skirt stopping about an inch from the raw edges on both sides. I did the same with each of the back pieces. I then sewed up the skirt by matching the front with both of the back pieces, sewing down each side using a 5/8 inch seam allowance. While sewing up your skirt, be careful to have your gathering stitches out of the way so that they do not get caught up in your side seam stitches.

I then gathered the skirt front and back pieces by pulling on the bobbin thread and conforming my gathers and my skirt to the size of my bodice waist while taking care to match up the side seams.

Sew your skirt to your bodice carefully, making sure that your gathers are not folding or getting caught in your stitches.

Your dress is almost done! All you have to do now is insert the invisible zip and hem!

The Janome Memory Craft 6700P does not come with an invisible zipper foot and it uses a different foot type than my machine that I own. No worries on this because you can definitely insert an invisible zipper without an invisible zipper foot by making sure that you prepare your zipper before insertion by pressing the teeth open.

You then utilize the amazing function on your machine that allows you to move the position of the needle! I used the regular zipper foot that came with the machine and moved the needle as close to the teeth as possible without actually touching the teeth.

I would suggest going slow with this and taking your time which will ensure the best outcome of your zipper insertion.

I ended up shortening my skirt by about 2 inches before hemming but obviously this is up to you and however long or short you prefer your skirts.

As you see above I wore the dress in Animal Kingdom last week and I love the playfulness and comfort of it!

Overall, I absolutely love the Janome Memory Craft 6700P and as I mentioned before it would make a great purchase for anyone who has a mid-level machine and would like to upgrade to a professional grade model.

Thank you so much to Janome for partnering with me in this blog and please leave me a comment or message me if you have any questions about making your own Holly dress hack.

Have a beautiful day everyone!

Janome Memory Craft 6700P

By Hand London Holly Jumpsuit Pattern 

Uncategorized

By Hand London Holly Playsuit!

This weekend I made the By Hand London Holly Jumpsuit and it was well worth every second spent. This was my first BHL make and I have decided that it will not be my last. If you have not already checked out their website please do! It is chock full of beautiful dress patterns that give you the opportunity to proudly acheive ladylike and sexy all at the same time. There is also an incredibly informative blog that features tips and tricks for advid dressmakers like you and me and sewalongs for their popular patterns. 

The Holly Jumpsuit immediately caught my eye because of the playful silhouette of this jumpsuit/romper/playsuit. 

LOVE LOVE LOVE THIS PICTURE!!!! 

Anyways, I downloaded the pattern which as of now is available in PDF only. This was perfectly ok with me because I didn’t want to wait for shipping from the UK as I was already determined to start sewing up this pattern.

I chose a Gertie print sateen that I purchased from my local JoAnns which you can purchase here. This fabric has a subtle sheen to it and does not disappoint. Working with this fabric made me realize how much I love sateen and I want to work with it more. 

Keep in mind while consructing this PDF pattern that the pants/shorts portion is separate from the bodice portion so you will have to print out two different sets of patterns. This is only because this pattern comes with a playsuit variation, a jumpsuit variation and a pant variation.


The instructions for this pattern are very straightforward and easy to follow. 

For anyone wondering what type of skill sets are involved with this pattern here are the deets: there is a button placket to construct, a side invisible zipper, four darts on the bodice and two darts on the back of the shorts. I would not recommend this for a beginner sewist but for an intermediate to advanced one. However, if you are a beginner and want to have a go at it, please do because the instructions hold your hand the entire time. 


I am so happy with the way this playsuit turned out and I look forward to making more!


Have a beautiful day everyone!

dressmaking · sewing · Uncategorized

Rayon Challis and A Ruffle using Simplicity 8124

Hello everyone! 

I recently made a summer dress from Simplicity 8124 and added a ruffle to the neckline!

Let me just start by saying that I have had this pattern in my stash for a good while but decided to finally use it because I received this amazing Rayon Challis from LaFinch Fabrics that I wanted to make a light and comfortable dress out of.

I’ve gotten rather obsessed with light fabrics that breathe easily because it’s hot where I live and I hate feeling like I’m suffocating in my clothes because of heavier fabrics. Wearing fabrics like rayon challis and cotton lawns are heavenly for me. I desperately need to be able to breathe in my clothes. Haha!

While working with this pattern I found out quickly that it runs extremely large and that I would have to to work my way around that.

I cut out a small based on my measurements however, I had to take this dress in quite a bit so that it did not look like a tent on my frame. I accomplished this by trying on the dress inside out and making markings on where I wanted to take it in with chalk. 

I did not have enough fabric to add the sleeves so I decided to improvise and add a ruffle neckline to this dress becase I have recently been inspired by this look on Instagram and I really didn’t have anything like this in my wardrobe. I created a ruffle by simply measuring out how large I wanted it to be. This measurement is all based on preference and how much you want your ruffle to stand out.  I ended up cutting out a rectangle that was about 10 inches by 29 inches.

I finished my armscyes by simply hemming and pressing them. I was too lazy that day to add bias tape to finish off the arms but please do this if you feel the need to.


Overall this was a very quick and easy make and I will most likely use the pattern again but just knowing that I will have to size down the pattern a great deal. I would also like to try and add the sleeves next time when I have a bit more fabric to work with. 

Here is the dress with and without a belt to show the different looks that can be created. 

Please let me know if you have used this pattern and what your thoughts were in the comments. 

Have a beautiful day!

dressmaking · sewing · Uncategorized

An Orla Affair in La Finch Fabric.

So this is my second make in my summer wardrobe series where I got the pleasure of working with this AMAZING cotton lawn from LA Finch Fabrics.


 This fabric has a beautiful mix of greens, purples and pinks. And if you live in a warm climate like I do it’s perfectly light and breathable for high heat and humidity.

I decided that I would make another French Navy Orla with this fabric.  If you follow me regularly you know that I have already made two of these and that I love this pattern not only because it is a free download but because of the beautiful simplicity of the pattern. I also was inspired by the latest posts on Instagram where it is an Orla month presented by the amazing bloggers listed below.

I love that everyone is getting inspired to make their own Orla and put their personal touch to the lovely silhouette of this dress.

I wanted to make my third Orla a tad bit different than my first two and decided to modify the sleeves by making a sleeveless dress and adding frilled sleeves. I had never made frilled sleeves before however, I was determined once the thought entered my mind to make them. Creativity is a beast sometimes. Haha!

I sewed up my Orla like normal and then cut out two sets of sleeves by measuring across about 19 inches wide of fabric with a slightly curved section at the top. 


You can definitely use a dressmakers ruler for this but I just eyeballed my sections. I then sewed up the flat side together with right sides facing and sewed up and gathered the curved sections. I then attached the gathered sleeves to my armcyes that I had already hemmed. 

The amount of gathering is completely up to you but this amount works for me. I love the look of these sleeves and I will definitely be using this same look on future projects.


I decided to make my own bias tape for the neckline which I stitched in the ditch all the way across.

I attached a lime green invisible zip, added pockets and I was pretty much done save the hemming.


I love this dress even more than I thought that I would! This fabric is amazing and it definitely makes me want to work with more cotton lawns especially if they are as beautiful as this floral print! 


Thank you for all the lovely comments and please let me know what you are making for your summer wardrobe.

Have a beautiful day!

Cotton Lawn from La Finch

French Navy Orla Pattern

dressmaking · sewing · Uncategorized

At the Arboreum in my Seamwork Catarina

Hello all!

It’s summertime and I am so excited about summer dresses, lounging by the pool, and long days at the beach! While looking for a summer wardrobe I tend to go for bright colors, light and easy fabrics and breathability for the intense sun rays downhere in Florida.

This is the first of a series where I plan on making multiple summer inspired pieces that hopefully can inspire you to start making a summer wardrobe or to simply add a couple of pieces in with what your already have.

I got inspired by the Seamwork Catarina and I was lucky enough to have so many Seamwork pattern download credits that I didn’t have to pay any additional money for this pattern. 


I love the simple silhouette of the Catarina and feel that it has the potential to be a summer or winter staple because it can easily be worn with a cardigan to make it more cozy in the colder months. I picture this pattern as a chic and simple summer dress which could be perfect for a theme park day (I live in Oralndo, FL) or a romantic summer date night.

I bought this amazing Floral Crepe from La Finch Fabrics after falling in love with it on their website. 


It is called “At The Arborutum”and comes in 4 different colors. I chose to purchase it in the color Sage. These crepes are some of newest additions on their website for summer and they are absolutely beautiful. This crepe combined with the Catarina pattern is my first summer make for this blog series!


For the Catarina, I decided to go with a size 4 which has worked well for me in the past with Seamwork and Colettte patterns. This is a very simple pattern which has a lined bodice and a waist tie. The only part which I had no experince with was creating adjustable shoulder straps. I actually did not purchase the 1/2 inch bra srap rings and sliders that the pattern calls for and instead cut out rings and sliders from an old bra that I no longer wore.


This worked just fine because I was way to impatient to take a trip to my local fabric store and I got to upcycle my old bra in a way! The directions for the adjustable straps are very staraight forward and allowed me to smoothly create my first pair of adjusble straps in no time.

After completing the bodice I attached it to the skirt and then attached the elastic to the skirt. The pattern calls for clear elastic but again I did not want to run up to my fabric store to retrieve any and instead used a regular cotton elastic that I had in my stash. 


I have replaced regular cotton elastic for clear elastic in the past and I have not run into any issues with this so far. I am assuming that the clear elastic allows for more comfort in wear however, the cotton kind by no means bothers me and I do not find it at all uncomfortable. It also is a tad bit less expensive than clear elastic.

So let’s talk about this amazing fabric some more! It was so easy to work with and I highly recommend it especially if you have not yet entered into working with more slippery and light fabrics and want to try making a dress, skirt or a blouse with crepe! It is easy to handle and is lovely enough to work with many types of projects. 

I am so glad that I chose to use this print. It has a lovely mix of soft green, terquoise, navy blues and black and whites.


I just love the final result of my summer make number one! Please let me know in the comments what you are making for the summer! 

Have a beautiful day!

Uncategorized

Summer Dresses and Thoughts

Hello everyone I feel like it has been forever since I have updated my blog. Life interrupted and has taken a lot more of my time than I had anticipated. I have to say that I love the online sewing community and it has opened up endless possibilities for me in my huge imagination and sewing inspiration. 

I literally daydream while at work about my next make and now that I have made more than a couple of self-drafted dresses, I feel as though this has opened up an even larger door that makes my head explode with possibilities! Wearing dresses makes me feel amazing and wearing dresses that I have drafted for my body makes me feel empowered.
I love that sewing has allowed me to be so imaginative and so confident even when my latest make is not cooperating or when I have to unpick all of my seams and I want to cry. This blog has also given me a chance to ramble on about these things and not be judged for it. I want to sew all the time and life unfortunately does not allow me to do that but I know that when I am sewing my world is simply a better place.
That being said, I have some exciting news and I am so happy to share it here!  I recently was granted the opportunity to write a guest blog post with Minerva Crafts where I made a colorful and playful summer dress from Simplicity 1059. You can check out the post here and I hope that you all enjoy it.

Here are a couple of pictures from the post. I hope it can inspire you to make a summer frock as well!


I love you all and have a beautiful day!

Uncategorized

Summer Stripes!

I recently had the opportunity to collaborate with LA Finch Fabrics and was thrilled to do so because I am a huge fan of their amazing and affordable fabrics. I admittedly stalk their website frequently, drooling at their new arrivals. I received from them 2 1/2 yards of this beautiful Rayon Stripe print that I had been eyeing on their website and was so excited to work with it.

 I decided to make another Tilly And The Buttons Agnes top hack dress knowing that it would do a great job of showing off the beautiful mint stripe detail of the fabric.


I cut the bodice out by going an inch and a half below the waist indicator line on the pattern. The length of the waist is completely up to personal preference but I find that this lengh suits my frame the best.

I wanted to make sure that the stripes matched up on my bodice seams so I hand basted the front and back pieces together inside the seam allowance to ensure that my fabric did not shift at all during sewing. My basting stitches are not perfect but they do not have to be because they are temporary and simply allow me to line up and hold together my stripes while sewing my permanent stitches. I used a zig zag stitch on my sewing machine to sew the bodice together.

I really wanted to do a vertical striped neckline so I cut the neckline parallel to the selvage to create a beautiful contrasting stripe and finished the band off with a double needle stitch.


I don’t own a serger primarily because I can’t afford one right now. But I want you all to know that working with knits can be so easy if you use a stretch stitch and a double needle for top stitching. Of course a serger would be more than nice to have around; however, I have to work with what I’ve got and I am very happy with the results that I am able to achieve by solely using my Janome 5812 sewing machine.

The Agnes pattern has beautiful ruched sleeves that are right up my alley and I love the playful look that it gives the top.


The skirt can be made by either using a self drafted rectangular piece to gather or by using another skirt pattern from your stash. I chose to cut out 2 rectangles measuring where I wanted the skirt to end and measuring a width of 2 times my waist measurement.  I then gathered the skirt using 1/4 inch elastic and attached the skirt to the bodice.


I’m all about these beautiful stripes and this fabric that is SO soft and easy to work with!

Thank you LA Finch Fabrics and thank everyone for reading. Please leave me a comment below or if you have any questions, write me a note.

Have a beautiful day!

Striped Mint Rayon From LA Finch Fabrics

Tilly And The Buttons Agnes Pattern

dressmaking · sewing · Uncategorized

French Navy Orla For The Win

Have you ever purchased fabric that is so delightfully beautiful that you hesitate cutting into it because you have this deeply embedded fear that you will ruin it by making a garment that will not do it justice?

I definitely felt that way about this delicious Cotton and Steel and Rifle Paper Company collaboration rayon that I bought from my local fabric store a couple of months back. I spent time pondering what I would make out of it and seesawed between visions of circle skirts and wrap dresses. The main problem that I was running into was that I had only bought 2 yards of this fabric because it was a bit pricier than what I would usually purchase. Having only 2 yards limited me in my options of dresses. This fabric is so precious and I did not want it to end up collecting dust in my stash, so I finally decided after much over thinking, to make from it the Orla Dress by French Navy Patterns.


I had come across this pattern many times on Instagram and it was mentioned more than once by Rachel from Maker Style podcast. I was attracted to the easy and comfy silhouette of this dress and thought it would also show off the gorgeous signature floral of this fabric. I went to the French Navy website to purchase this pattern and was overly delighted and surprised that it was a free download. This was a no-brainer!

The pattern was very easy to assemble and has 6 main pieces as well as the neck binding piece that you measure out based on the size of the neckline.

I decided to cut a size small based on the measurement table included with the pattern. I did not make a muslin prior because I was not overly concerned with the fit of this dress bodice knowing that it fits a bit roomy anyway.

The instructions are simple and straight forward; however, I do recommend to any beginning sewists who have no experience easing a sleeve into an armscye or inserting an invisible zipper, to practice these skills prior to trying this pattern because there are no diagrams or instructions included on completing these tasks.


There is a seam allowance included in this pattern of 1cm, so please keep this in mind while sewing the Orla because I know that most of us (including me) are used to 1.5cm being the standard.

The pattern does not include pockets; however, I did add pockets to this dress by using a self drafted pocket pattern and stitching on either side of the skirt pieces.


Overall this is a quick and easy pattern that took me just over 2 hours to complete!


Sometimes you find patterns that make you feel beautiful while still allowing you to be comfortable. This is one of those patterns.

If you guys are in search of an easy and comfy dress that is still flattering, then please go download the Orla pattern. You will not regret it!

Have a beautiful day!

French Navy Orla Dress Pattern

Cotton And Steel and Rifle Paper Co Fabrics


Uncategorized

Three of My Favorite Pattern Hacks

Modifications or hacks are to me the epitome of creativity when it comes to sewing garments. I love that we can take any part of a pattern and add or remove elements that are not necessarily displayed on the cover of the pattern or in the line drawings on the back. This can result in endless possibilities of personalized touches that make the finished garment feel even more like our own creation. When I first started sewing I simply viewed patterns as concrete and unevolving blueprints that could only be completed one way and one way only. I no longer feel this way.

I thought I would highlight 3 examples of some of the different ways that I have modified or hacked garments from various patterns to make them my own. This is simply a starting point because there are SO MANY modifications and hacks that can be created from any pattern. I hope this will give you a bit of inspiration in creating your own personalizations from the patterns that you already have in your stash.

1. Sew DIY Lou Box Top Dress With Gathered Skirt.

That’s a long title for such a simple and comfortable dress! I took the pattern for the Lou Box Top by Sew DIY which is a great shirt pattern for woven and knit fabrics. I’ve used this pattern once before and I love the ease and comfort of this shirt. I wanted to make a dress out of it because it is not a secret that dresses are my favorite item of clothing to wear.

I wanted a curved back hem so I took the curved front hem add on piece from the pattern and placed it about 9/12 inches below the hem of the back piece. I cut out the front the same way but without the curved hem at the bottom and measured about 19 inches from the hem of the front piece to create the front of my skirt. The length of the skirt is completely up to you and your tastes as well as how much fabric you have available. This plaid fabric that I used was thrifted and it was only a little over 2 yards.


After I cut out my front and back I cut both pieces at the waist line so that I had a regular Lou Box top as well as the skirt front and back pieces. I then made my top according to the directions of the pattern. I pleated the skirt by using 1/4 inch elastic and attached the skirt to the “bodice” (Lou Box Top).

This dress is so comfortable and easy and I love the curved hem at the back!

2. Puffy Sleeves on the Moneta or Any Dress or Top! 

If you read my blog regularly you know that I love puffy sleeves and added them to my Colette Sorbetto for my contest entry. You can read about how I make puffy sleeve here; however, I wanted to highlight this in my hacks because it’s my favorite hack and I love the romantic feel that it gives to any dress or top.

This sleeve can be done with just a bit more time taken to increase the width of any regular sleeve pattern as well as the time it takes to gather and create the arm band. The extra time spent is so worth it!

3. Tilly and the Buttons Agnes and Colette Moneta Skirt Dress

This dress is so adorable and it took me just over two hours to complete! I made the Agnes top and cut it off at the waist indicator line on the pattern piece for the front and back bodice. I made the gathered sleeve version (is this any surprise to you?) I used a blue and pink flowered print jersey from Fabric.com.


I decided to use the skirt pattern from the Colette Moneta to complete the dress because I’m very familiar with this pattern and I thought the gathered skirt would blend perfectly with the bodice of the Agnes. I used a double needle to finish the neckband and the hem.

Guys, this dress is so cute and lovely!


Do you have any favorite pattern hacks?

Let me know yours in the comments!

Have a beautiful day!

Sew DIY Lou Box Top Pattern

Tilly And The Buttons Agnes Pattern

Colette Patterns Moneta Pattern

Fabric.com


Uncategorized

Self Drafted Sundresses are Essential in Florida!

I recently decided to make a sundress which became a rather obsessive and delicious rant of drafting, tucking and adjusting my dress block. I have never made a spaghetti strapped sundress before and have been recently inspired by some of the looks coming from my Instagram feed and the fashion that I see everyday living in the warm climate of Central Florida.

The shape of this beautiful gingham dress by The Pretty Dress Company was what I was looking for with a fitted bodice and full skirt.


The heat down here is intense and the need for light and effortless clothing is ongoing. I didn’t have a pattern similar to this dress and I truthfuly didn’t want to purchase one because I feel like I already have enough patterns that I have not yet used. I did feel as though I could possibly create a stasfactory one from the bodice block that I use for practically all of my woven dresses.

I ended up trimming my bodice block quite a bit to match the shape that I wanted and this required me to remove the two side darts that are in my basic bodice and deepening the two in the front.

I honestly looked at these new darts with fear that they were too wide! They were huge but I decided to go for it because I really wanted only two darts in the front of my bodice raising up to my mid bust.

I ended up making 2 muslins for the bodice and I am so glad that I did because the fit of this bodice was the highest of importance to me in this project. I did most of my adjustments in the two darts in the front and also took quite a bit of inches off around the arms before deciding to go with the adjustments I had made and make the real bodice that I was willing to wear in public!


I created spaghetti straps by sewing strips of fabric 2 inches wide with a 5/8 seam allowance, grading the seam allowance and turning with a safety pin.

I knew that I wanted a full skirt with box pleats. I love the look of box pleats and I honestly enjoy the process of creating pleats the old fashioned way by pressing and pinning them at the ironing board . (I know I’m crazy).

I added deep 2 1/2 inch box pleats in the front and the back, a 17 inch invisible zipper in the back seam and then I had my dress!!


I am happy with the fit and love the print that I got months back from Jo-Ann Fabrics. I know I will wear this dress many times and can dress it up or down with casual sandals or heels and a cardigan.

Have a beautiful day!