dressmaking · sewing · Uncategorized

My Prizes from The Colette Sorbetto Contest

I recently made this Colette Sorbetto which I entered in a contest that Colette Patterns was holding on Instagram. I tagged the photo of my sorbetto with the hashtag #Colettesorbetto and I was entered into the contest. The contest involved the team at Colette picking the top three out of all the submissions and the public picking the winner out of the top three.

At the end of the contest I was fortunate enough to come in tied at first place with dgomagpie and her fabulous Sorbetto! I have never won anything in my life except for those disposable toys from Chuck-E-Cheese, so I was thrilled and could not thank Colette and everyone who voted enough!

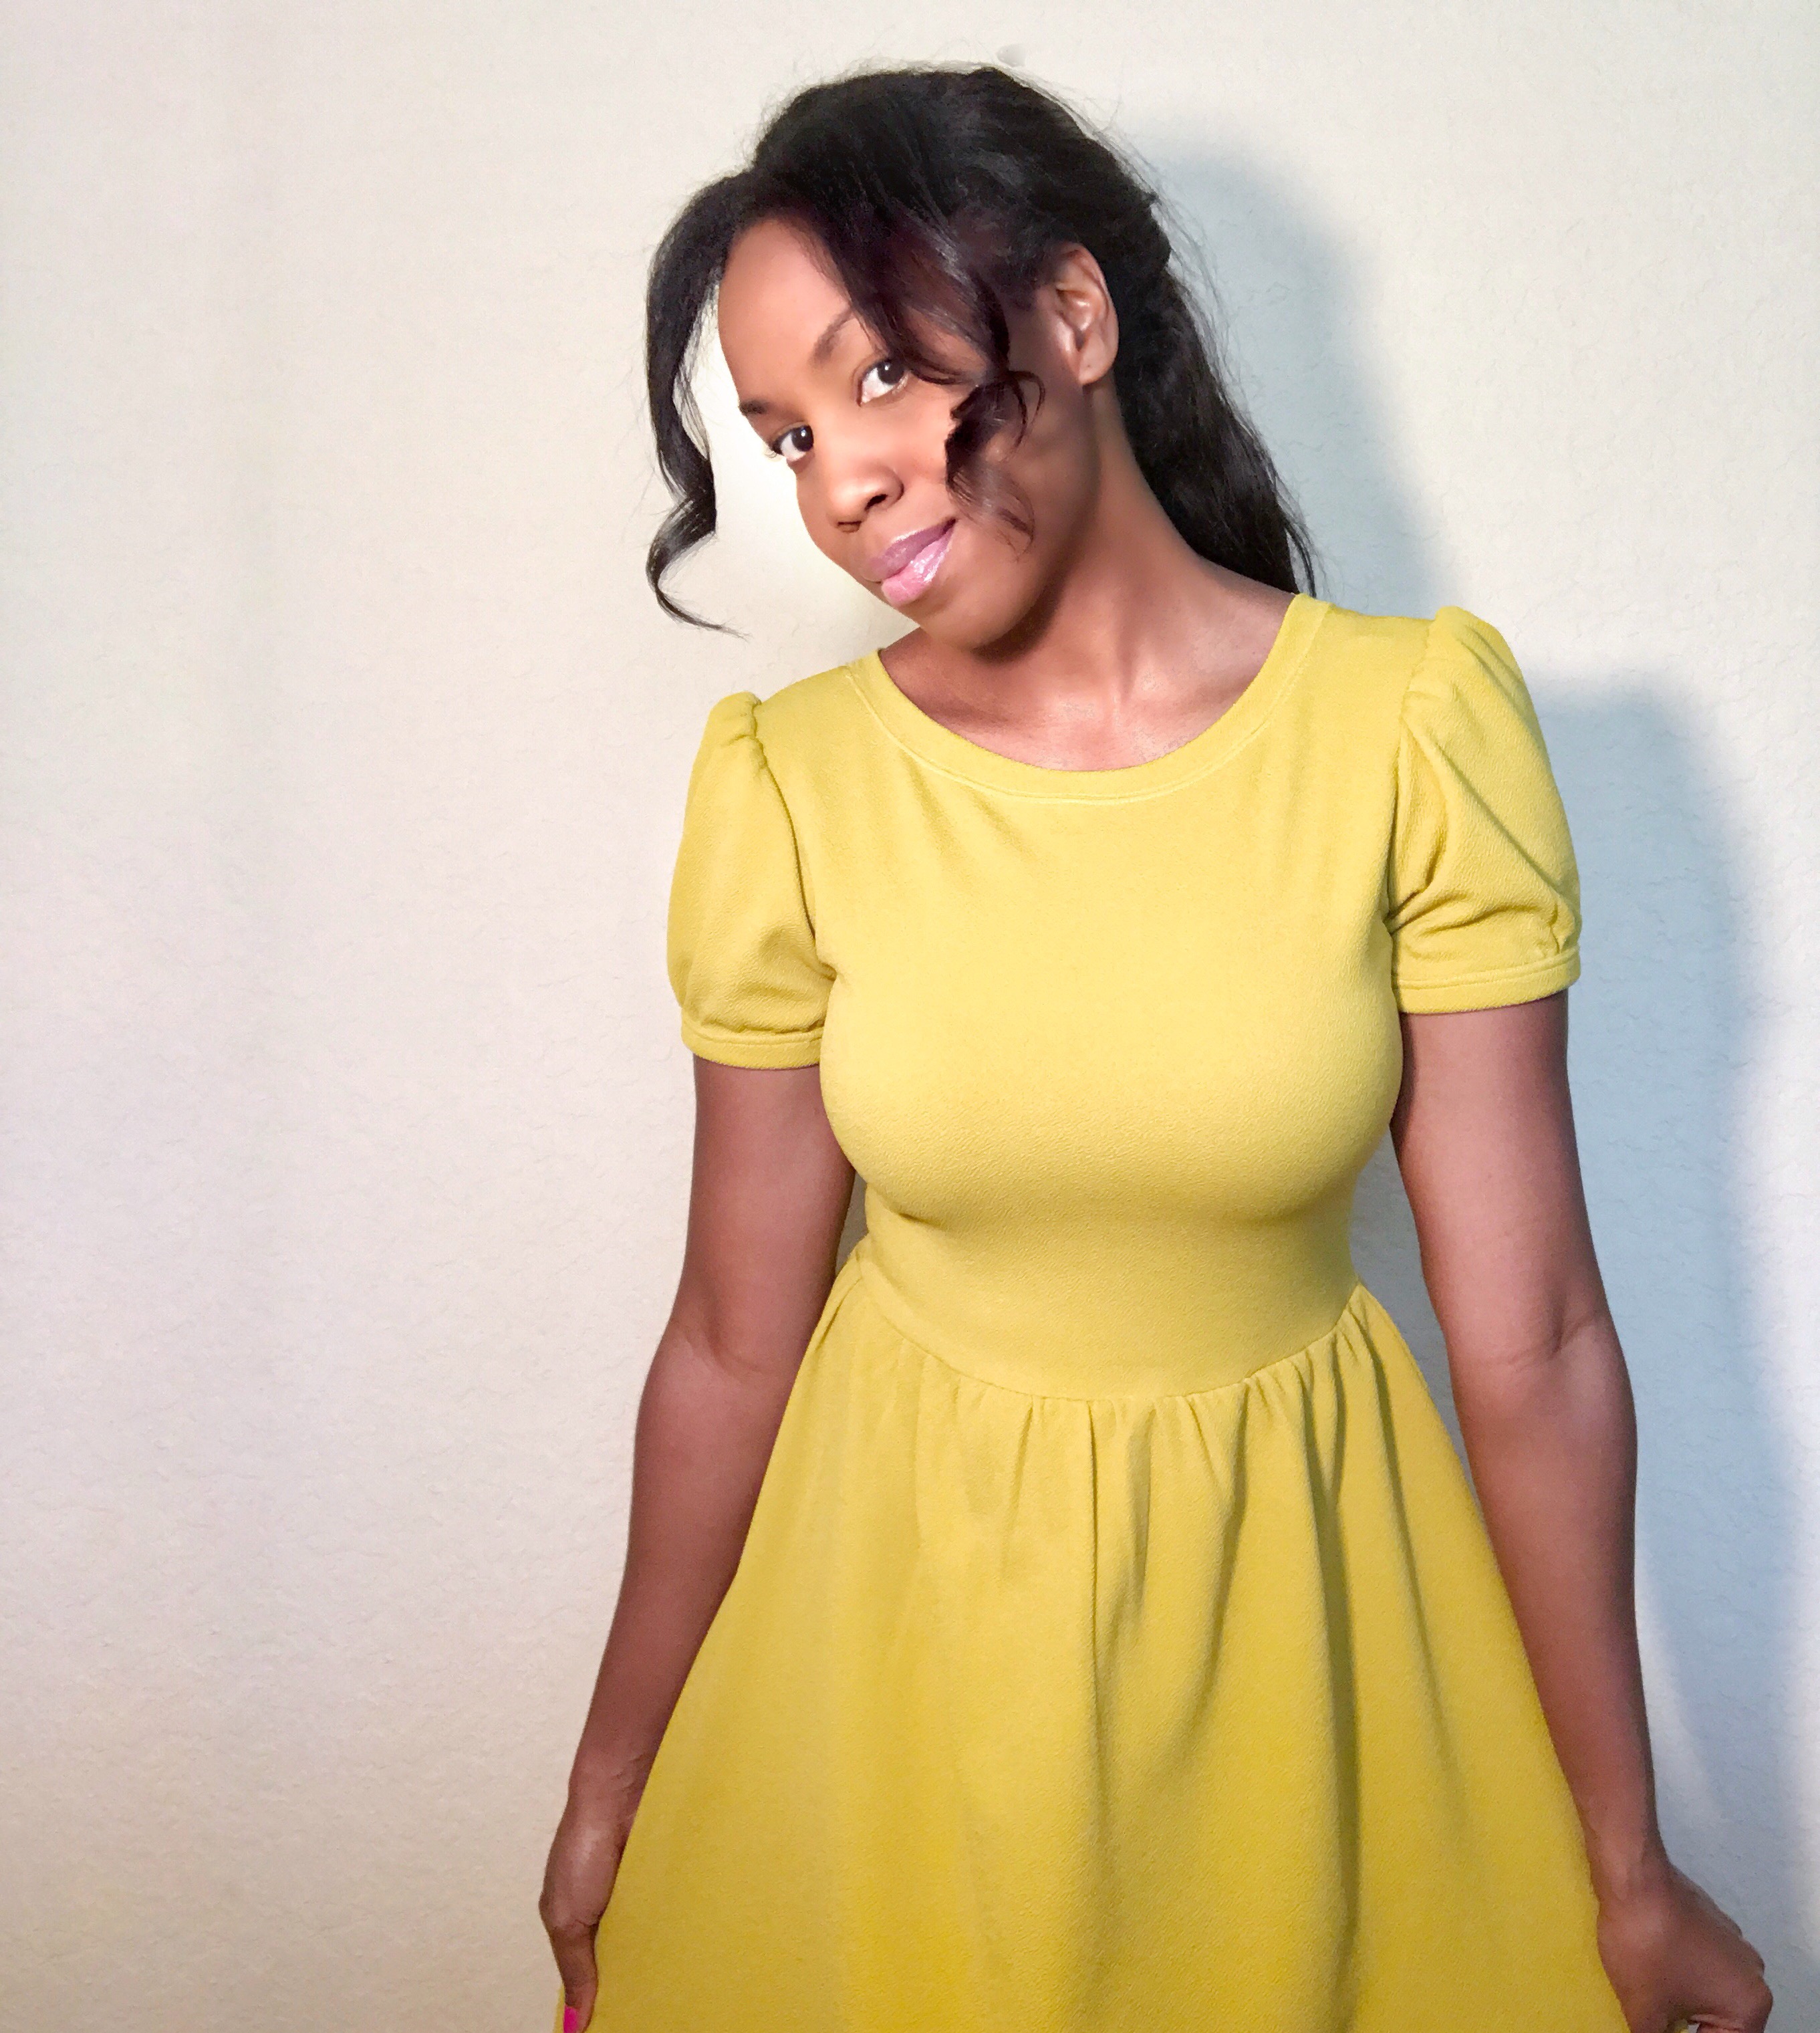
I have a blog post about the making of this sorbetto which you can read here. This is a great pattern for a chic blouse that can be dressed up or down and does not take a tremendous amount of time to make. As of now, the pattern is free to download from Colette’s website which makes creating this blouse for yourself a no-brainer.

After a few days passed  I received my prizes in the mail which are highlighted here.

Part of these amazing prizes is a 50 dollar gift certificate to Colette patterns which I plan on using to purchase a few of the patterns that are on my wishlist. I look forward to writing about my future purchases on this blog and what I decide to venture upon in Colette’s impressive catalog of patterns.

I also received Colette’s Sewing Planner which I think is the perfect companion for any sewist who desires to keep all of their plans, ideas and inspiration in one lovely little book.


The planner has sections for each season which allows you to properly organize and jot down ideas about current and future projects.
I have used my first project page on my current project which is the Agnes by Tilly and The Buttons. The project pages allow you to include a fabric swatch, supplies needed for the project, customizations etc.


I know that I will use this planner frequently because one of my many goals is to organize my sewing plans and to have them all in one tangible space.

I also received a pair of beautiful Gingher Knife Edge Spring Action Dressmaker’s Shears that are unlike any shears I have ever had. I already own the 8 inch Gingher Dress Making shears, and they are exquisite (and gold), however they do not have a spring and can be difficult sometimes to use due to the blades hesitating to open while cutting fabric. These new shears open freely because of the spring which allows less effort while cutting. I am so blessed to have two durable pairs of dressmaking shears now and am sure that both will last me forever.


And this Pin! this pin is everything!

Since I began to sew again at the beginning of the year I have been overwhelmed by the love and support from the online sewing community and this experience was no different. Thank you again to all who voted and I will use my new prizes to create things that I hope will inspire others to sew too.

Have a beautiful day!

Coletete Sorbetto Pattern

dressmaking · sewing · Uncategorized

Sew Over It Ultimate Trousers or Skinny Jeans for me

Hello everyone!

I recently made a pair of jeans using Sew Over It’s Ultimate Trouser pattern. I have never made pants of any kind so this was something that I went in with a bit of trepidation but I want to try new things and I am trying to challenge myself a bit more with my sewing so that I can grow in my skills. Although making dresses is my passion, I still wear jeans and shorts and I live in Orlando so I am fortunate to be able to have freedom when it comes to what I wear because of our warm climate.

When I thought about making trousers I knew that I wanted to make them with stretch denim because I need more casual pants and I had in mind some retro, slim fitting, denim stretch cigarette pants that fit well.

I ultimately want to make Ginger Jeans by Closet Case Patterns, however I am scared of trying this amazing pattern and I am not afraid to admit this. And eventhough I am SO inspired by all of the amazing Ginger Jeans that I see on Instagram, the thought of doing top stitching on the back pockets makes my palms sweat and I have accepted the fact that I am not yet ready for this step in my life.

I picked the Ultimate Trouser pattern because I am comfortable with Sew Over It patterns and this pattern does not call for a front zipper but rather a side invisible zipper. I bought my fabric from Fabric.com and decided on a stretch indigo denim.

The pattern is very simple and straight forward and although I realized early on that to get the fitted look that I was going for I had to put in negative ease in the pattern resulting in my taking this pattern in a great deal.

I don’t own a serger yet but I was wishing that I did with this project because the denim frayed so easily and quickly! I felt that they were slowly disintegrating as I was stitching them up and trying them on for size.

I ended up using my overlocking foot on the raw edges so that I would not lose my pants completely. HAHA!

I am happy with the pattern and the results. I think I would like to make a lighter denim version next. If anyone knows any good places to purchase light blue denim please let me know in the comments.


Thank you and have a beautiful day!

Sew Over It Ultimate Trouser Pattern

Stretch Denim from Fabric.com


dressmaking · sewing · Uncategorized

Bed Sheet Easter Dress

I ventured out with my family this weekend to our local Goodwill thrift store. I was specifically looking for materials to use for future projects and ended up spending most of my time in the linen aisle where they had various bed sheets and curtains displayed.  Everything was around $1.50 or so with the most expensive item being a duvet cover for $7.00. I picked out a queen size flat bed sheet with a beautiful floral detail. I was specifically excited about the amount of fabric that I could use from this item as well as the unusually beautiful print which was a mix of white, silver, blue as well as pops of yellow throughout. I brought it home, threw it in the washer and after drying it ended up with around 5 yards of fabric to use for my Easter dress.


I have a bodice block that I drafted after a great deal of tweaks to multiple test bodices that I started at the end of January of this year. I use this block because I know that it fits and I will need to do minimal adjusting to my frame depending on the type of fabric that I use with each dress.

I immediately started on my bodice using my block and my new bed sheet. I also cut out a duplicate bodice using some bleached muslin that I had in my stash for a lining.


I sewed my bodice to my lining and snipped my neckline and armscyes.


I was happy with the look of the bodice and the fit. I did not lower the neckline in the back of my dress block because I wanted a high back to show off as much of the gorgeous floral on the bed sheet as possible.


For the skirt I definitely wanted a full circle one partly because I had so much fabric to work with and also because it doesn’t get much girlier than a full circle skirt to twirl in!

For the skirt I used the skirt pattern from Butterick 5748. I have made this vintage dress before and although I did not like the bodice included in this pattern (It runs WAY too big) I was very happy with the fullness of the beautiful circle skirt included with the pattern.


The circle skirt pattern includes a full piece for the front and 2 half pieces in the back with the seam down the middle for the zipper.


I sewed up the skirt and attached it to my bodice. I then had to go to Joanne’s because I realized that I did not have a zipper long enough for the high back on my bodice. I ended up purchasing a 22 inch invisible zipper and then became distracted by all the lusciously pretty fabrics. Does anyone else have this problem?


I was very disciplined and ended up buying only the zipper and 2 yards of muslin for future projects. Haha!

After attaching my zipper, I then finished my raw edges with my overlocking foot. (I don’t have an serger so this is a good alternative to finishing up my raw edges.


I am going to wait a full 48 hours before I hem the skirt because it was cut on the bias and I want it to drop as much as possible before I hem.

This is the dress though, unhemmed but lovely. I have to say that I am very proud of this dress because if I add up the price of the bed sheet which was $1.50 and the zipper which was $2.50, the total cost of this dress was a whopping $4.00!


It also feels quite nice that I was able to upcycle this beautiful bed sheet that was most likely donated by someone who no longer saw any beauty and function in it, opting for something new and improved. I was fortunately able to make something beautiful out of something discarded and perhaps forgotten.
Anyways, I think it is lovely.


Have you ever upcycled a used item from the thrift store? I would love to hear about it! 

Leave me a comment below and have a beautiful day!

dressmaking · sewing · Uncategorized

Sewcialist Thoughts and Plans

My Sewing decision making angst is growing and growing. I don’t know if any of you experience this but I am having a serious overload of thoughts, decisions and ideas about what I want to sew next, why I haven’t gotten very far on the projects that I want to sew and which fabric should I purchase next to complete all of these projects!

When I started sewing in January, I had not yet enveloped myself in the sewing world, I had not yet discovered all of the wonderful hashtags that I can look up at anytime in Instagram to gather inspiration and ideas on the projects that I was working on. I simply went to my local Joanne’s and bought my pattern and fabric, went home and worked on that project and that project alone. I did not know then about all of the wonderful knits that I could get at La Finch Fabrics and the beautiful double brushed poly that I could get at Sly Fox Fabrics. I didn’t even know what DBP was back then.

This was when I saw this sewing thing as just a hobby to fill my free time, but now it has turned into a blog and a passion that I want more and more of. Sewing has helped me tremendously with my anxiety that I have struggled with most of my life and has given me the confidence and ability to accept and embrace my mistakes and to see these mistakes and pitfalls as wonderful opportunities to grow, learn and get better at this thing that I love so much.

Additionally, the online sewing community is truly the most supportive and uplifting group of people that I have ever come in contact with online. Instead of hating on each other, there is encouragement and positivity and it has been incredible meeting and sharing with my online #sewcialist friends!

Here is what I want to sew in the next couple of months if possible. I will leave all of the links to these amazing lovelies down below.

Belldone Dress by Deer and Doe: This pattern is everything I want in a dress! The construction is perfect and that back, wow!

Tilly and The Buttons Agnes Top: The version with the gathering on the sleeves makes my heart stop every time I see it. Yowza!

Colette Rue: I love the overly feminine shape to this dress, I want to make this in a light blue seersucker with blue piping.  I absolutely love those beautiful pleats!

Sew Over It Susie Blouse: I actually have already bought this PDF but I am waiting to find the perfect fabric with the perfect drape. I’m thinking Swiss dot cotton with a contrasting collar?


Hoya Blouse by Deer and Doe: This blouse is perfection in everyway and I so want this kind of perfection in my life.

I could really go on and on but, you know at some point I have to start on these projects and where do I even begin?…

Does anyone feel my pain? LOL

Have a beautiful day!

Deer and Doe Belldone Dress

Tilly And The Buttons Agnes Top

Colette Patterns Rue

Sew Over It Susie Blouse

Deer and Doe Hoya Blouse

dressmaking · sewing · Uncategorized

My Adventures with The Colette Sorbetto

If you haven’t guessed already by the title, I started on the Colette Sorbetto this week after discovering it on the website, various Instagram photos in my feed and Samantha’s awesome Sorbetto post. I love the look of the blouse with the pleat in the center running all the way down. The blouse has options of with or without sleeves but I knew that I would make one with sleeves because I really don’t prefer the sleeveless blouse look on me.

I already had fabric in my stash that I thought would be lovely with this pattern. I originallay bought this fabric for a Sew Over It Pussy Bow Blouse, however I ended up making the kitty cat one instead.

This fabric is a crepe that I bought from Fabric.com and I love the floral detail.


The pattern for the Sorbetto is very straightforward, however it does call for bias tape around the neckline. I knew that I did not want to use manufactured bias tape for this project so I decided to make my own.

I purchased this bias tape maker kit off of Amazon for $8.50. This kit comes with tape makers in 4 different sizes. I ended up making a double fold bias tape to use around the neckline using the largest 25 size tape maker and folding it over.


This is where my sewing confidence went from high to low. I completely struggled with this step because I was making small mistakes that turned into one big mess. After sewing on the bias tape it was drooping and not sitting flat against my neck. I wanted to cry because before adding the bias tape the blouse fit perfectly.

I ended up removing the bias tape and starting over. I remeasured the neckline and recut another strip of fabric. After making the bias tape, I then reattached it to the neckline. This fixed the gaping issue however, I started to realize then that I had not sewn the pleat wide enough after viewing various Instagram posts as well as The Colette website pictures.  The pleat on the website looked to be around 2 inches wide and mine was more like 1 inch!  I then reread the pattern instructions (shame on me for glossing over this step the first time).

This pleat issue meant that I had to again remove the bias tape so that I could widen my pleat. I restitched the pleat, this time going down the line that is indicated on the front pattern piece. Having to remove the bias tape a second time was frustrating but such a valuable  learning experience! I am going to make a full effort to read the pattern instructions all the way through when working with new patterns from now on I swear!

After deepening the pleat I was really happy with the way it turned out


I also decided to modify the sleeves with the puffy ones that I made in my last Moneta. I really love the look of puffy sleeve and until I get tired of this look I will add puffy sleeves whenever I get the inspiration.

After hemming my blouse I was done.


I really love this pattern, the blouse is lovely and would recommend it highly!

Please don’t forget to comment and subscribe!

Thank you for reading and have a beautiful day!

Fabric.com

Colette Sorbetto Pattern

dressmaking · sewing · Uncategorized

Colette Moneta with Puffy Sleeves 

So in my last post I took the Moneta sleeves and pumped them up a bit by expanding the height and width of the sleeve pattern.

I was really happy with the way the sleeves turned out and was extremely eager to start on the skirt!

I started working on the pockets and decided that with the extra bulk of using a Liverpool knit instead of a jersey or even a ponte, I would use a more sheetr and lightweight fabric for the pockets so that they would ideally lay flat and not put extra bulk on the sides of my dress and me.

I decided to use some rayon scrap fabric that I had laying around from a previous project. 


The problem however, was that the rayon was brown and I didn’t think about it showing on the sides of my dress before I attached them. Unfortunately even after understitching the pocket to the seam allowance you could still see the brown pockets from the outside of the skirt and this bothered me so much that I ended up removing the pockets all together.

I then got started with gathering the skirt and I used the same method of gathering as I did with my first Moneta using 1/4 inch swimsuit elastic. 

I measured out my elastic using the waistline of my bodice as a guide while adding a couple of inches to the ends.


I then basted the elastic on while stretching it around the bodice. 

I attached the skirt to the bodice and got lazy and took pictures of my new pretty dress instead of hemming it.

 That will get done sometime soon…


Thank you everyone and have a beautiful day!

Please comment, like and subscribe 😀

Colette Moneta Pattern
Liverpool Knit from Fabric.com

dressmaking · sewing · Uncategorized

Colette Moneta Here I Come!!

Hello everyone, I hope you are enjoying this beautiful day! 

I just made a Colette Moneta out of this beautiful Ponte that I purchased on Fabric.com 


I will leave a link below to this buttery floral fabric that has the most beautiful floral print.

I have never tried this pattern but have heard about the amazing Moneta party last month on Instagram where hundreds of sewist made a version of the Moneta and posted on Instagram using the hashtag #monetaparty. I am so sad that I missed this opportunity but I still used this hashtag to look up everyone’s amazing Monetas when I was researching this pattern. If you are thinking of trying this pattern I would suggest to do the same because there are so many variations and possibilities which allows so much flexibility with different tastes and options! 

This pattern is a simple make, however it calls for knit fabric  and I only worked a bit with knits. 

The pattern comes in lovely packaging with easy to follow instructions included in the booklet. 


I traced my pattern because I didn’t want to cut into it and ruin it but this is of course an optional step. 

The over all construction of the dress is super easy and beginner friendly. 

I ended up installing a neck band just because I saw a few Monetas on Instagram with neckbands and was really attracted to the look and feel that it gave the bodice. I attached the neckband and used a double needle to finish. 

The double needle definitely takes some getting used to but I think that it is a great technique that I am determined to improve upon.

My stitches were a bit off in some parts of the neck band but overall I was satisfied with the outcome. 

Now to the skirt. 
This pattern has pockets people! And they are super easy to install by matchin up the notches on the pattern.


The pattern also has a shirred skirt which is accomplished by using 1/4 inch clear elastic. I had read online that some people have had issues with working with this type of elastic saying that it is slippery and difficult to sew with. 

My fabric store did not actually have clear elastic so I opted for swimwear elastic instead.


This worked completely fine so if you don’t want to use the clear elastic I would buy this instead. 

I attached the bodice to the skirt after gathering the skirt with this elastic. 

After using my double needle again to hem the skirt, I was done! 

So quick and easy and so beautiful! 


Thank you so much for reading and have a beautiful day!!

Floral Ponte from Fabric.com
Colette Moneta Patten

sewing · Uncategorized

Sew Over It’s Pussy Bow Blouse third and final day!

Hello everyone 

The third day was very productive. I got into a zone of sewing my blouse and nothing could distract me. 

I managed to construct the cuffs on the sleeves as well as attach the sleeves to the bodice. 

The cuff part was a little confusing at first, however after a little manoeuvering and exercising my seam ripper, I managed to work them ok.


I did have to slip stitch the cuffs and I’m honestly not the best at slip stiching and found this part a bit frustrating. I can still see a few of these stitches from the outside of the cuff and I think this resulted from going too far in with my needle and sewing through the outside. I will note this in my head to not repeat this mistake with my next Pussy Bow blouse. 

I had no problem attaching the sleeves however and after doing a double hem I was all done and ready to wear my new kitty cat blouse! 

Thank you so much for reading and have a beautiful day!